Perfect crunchy jalebi recipe step by step
Jalebi are one of the most popular sweet dish of India. I have grown up eating these from the best shops of my town. Most of the Sunday mornings, my family would have jalebi with full bowl of yogurt as breakfast. Reminiscing those memories makes me purely nostalgic.
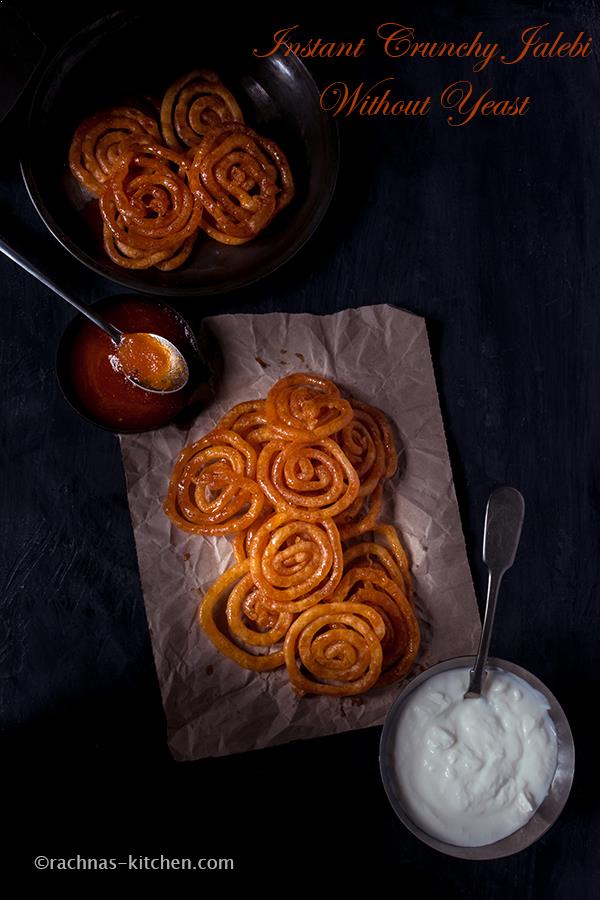
Most of Indian readers would know what it is but for my international readers here is brief intro. Jalebi are spiral shaped funnel cakes immersed in saffron and cardamom flavoured sugar syrup. These can be eaten alone or with home-made fresh yogurt to give little tart to immensely sweet jalebi .
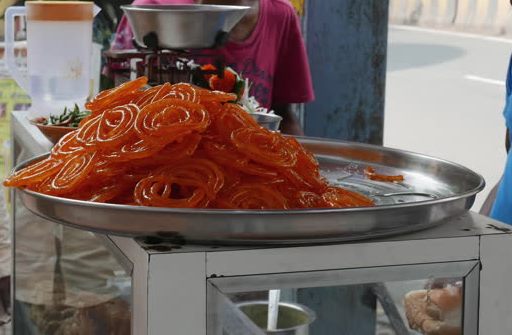
If anyone visit to India, may view many stalls selling hot jalebis in morning till afternoon. Here is a glimpse.
Meanwhile if you are looking Indian dessert recipe, you may like these
PC – Internet
For people living abroad, getting these kind of traditional dishes become bit difficult. Particularly when we need them fresh. So the best solution is to try them at home. I have been experimenting to get perfect crunchy and juicy jalebi at home. I have already posted a instant jalebi recipe with yeast .
But I was still in search of the perfect and importantly crunchy jalebi. So today I am here to share traditioal version jalebi. I have tried it for 4 times at home to get the final result. These jalebi are made without yeast. They are juicy and crunchy, they stay crunchy for more than 30 minutes.
Last year when I went to India, I came to know the secret behind the crunchy jalebi recipe, sold on market streets. They use a chemical called hydro (rang kat). I became very impatient to try that. It was the worst decision I had ever made. I made the jalebi using hydro and I must tell you that it’s not worth try.
Yes, they were extra crunchy and juicy but the after taste was so metallic. It got me sick for 2 – 3 hours. So the people who know hydro, I would recommend that please don’t use that chemical. It is used for dyeing and colouring. It ‘s not completely safe for human consumption though sometimes it is used by food industry as preservative. I will not ever consume it intentionally.
The recipe which I am sharing today is any chemical free, yeast free and crunchy juicy jalebi just as the street style. Ok let’s proceed toward the recipe.
Ingredients
*measurement for cup used, 1 cup = 250 ml
1 cup all-purpose flour (maida)
2 tablespoon chickpeas flour ( besan)
1/4 teaspoon baking powder
1 pinch baking soda
2 tablespoon sour yogurt
2 pinch of turmeric powder or food colour
Luke warm water as required
Oil to fry
For sugar syrup
1 cup sugar
3/4 cup water
1/2 teaspoon green cardamom
8 to 10 strands saffron
A small pinch of red food colour (optional)
1 teaspoon kewra water or rose-water
1/2 teaspoon lemon juice
Jalebi recipe step by step
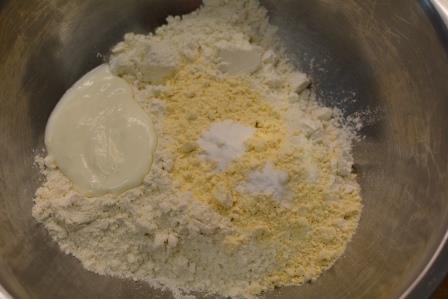
Step 1. In a mixing bowl, add all-purpose flour (maida), chickpea flour (besan), baking powder, baking soda and sour yogurt. Mix every thing with a spoon.
Step 2. Add turmeric powder to give colour. You can also use food colour if you want to.

Step 3. Add 3- 4 teaspoon luke warm water and mix it.

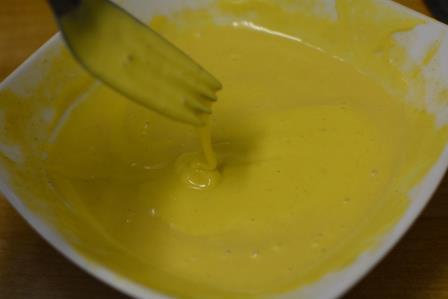
Step 4. Keep adding water till the consistency reach to pouring. It should neither be too thick nor too thin.
Now keep the batter in oven for 10 to 12 hours or over night. In between switch on the oven twice or thrice for 30 seconds to produce heat and then switch it off. This is how batter will ferment nicely. But in hot weather countries like India, fermentation could take place in less time.
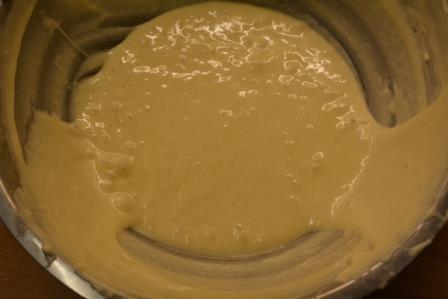
Step 5. After the 12 hours fermentation, batter becomes like this. ( Bowl and lighting condition is changed while taking picture but batter is same.) Look at the smooth flow of batter.
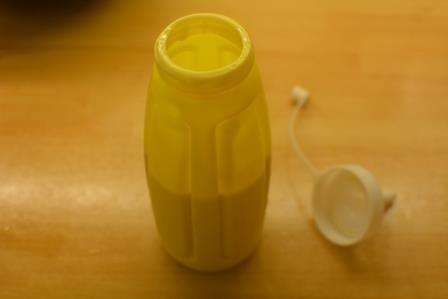
Step 6. I used a ketchup bottle to make jalebi. Fill up the bottle with batter.
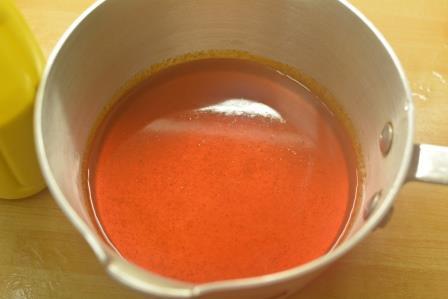
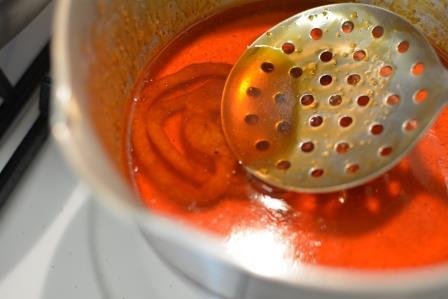
Step 7. Let’s prepare sugar syrup. Place a sauce pan over medium heat and add water then sugar. Add saffron threads, green cardamom powder and food colour. Let it boil and then simmer it for 2 minutes. Switch off the flame. The consistency of syrup is nearly short one thread.
Remove from heat and then add kewra water or rose-water. Add lemon juice so that sugar syrup doesn’t crystallize. Cover the syrup with lid to keep it warm.
Step 8. Pour oil in a wok and place over medium heat. Right temperature is very important for crunchy jalebi. To check the temperature of oil, drop a tiny drop of batter into the oil. It should immediately come to the surface without changing the colour.
Another trick to get correct temperature of oil is to heat the oil on medium high heat and when you are ready to make jalebi, slow down the heat to low.
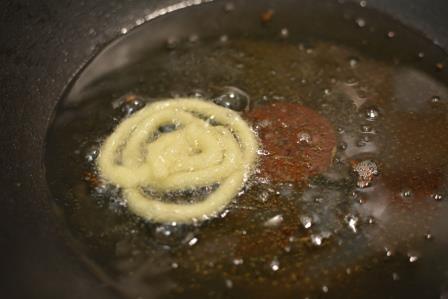
Then squeeze the bottle in hot oil in close spiral motion from inside to outside.
UPDATE – Use flat pan or wok to make jalebi. If you are using round shape wok, make sure that you squeeze the batter in right centre of wok. When jalebi becomes hard enough to handle, move it to side and again squeeze batter in centre to make other jalebi. This will give a good shape to jalebi.
Another point is that you squeeze the batter from near the oil surface. This will make that plump jalebi which would soak syrup result in juicy jalebi.
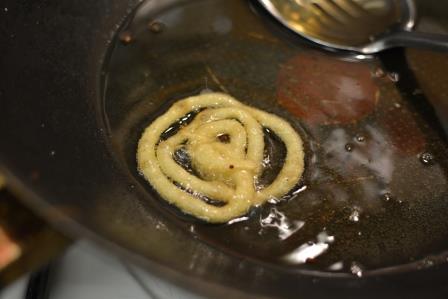
Deep fry till both the sides of Jalebi becomes golden and crisp.
Mean while you can increase the heat to maintain medium high temperature.
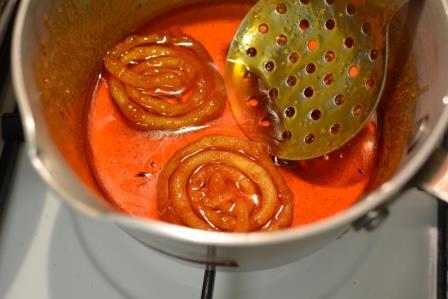
Step 9. Remove the jalebi from oil and put them in the sugar syrup. Flip and turn to make sure sugar syrup is evenly coated on both sides. Here is a trick to get the syrup soak jalebi completely. When you take out the jalebi from oil, drain for just 2 seconds and quickly dip it into syrup. Press the jalebi to sink in. Then flip to another side and do the same.
Do not drain oil from jalebi for too long.
Step 10. Remove Jalebi from syrup and place on a sieve to drain excess syrup.
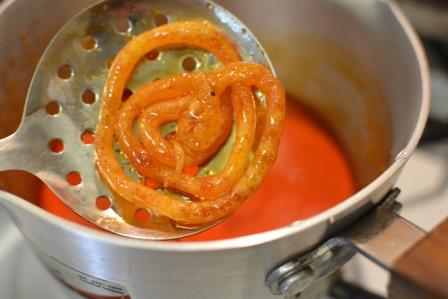
Repeat for other jalebi and prepare all.
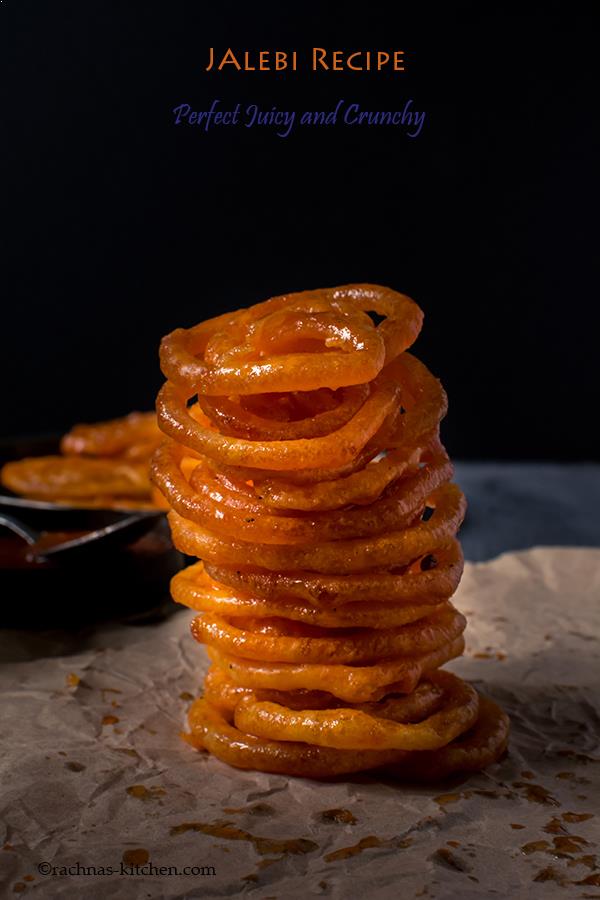
Look at the perfect, hot and crunchy jalebi. Serve hot with chilled yogurt.

Here is the recipe card for jalebi recipe
- 1 cup all-purpose flour maida
- 2 tablespoon chickpeas flour besan
- 1/4 teaspoon baking powder
- 1 pinch baking soda
- 2 tablespoon sour yogurt
- 2 pinch of turmeric powder or food colour
- Luke warm water as required
- Oil to fry
- 1 cup sugar
- 3/4 cup water
- 1/2 teaspoon green cardamom
- 8 to 10 strands saffron
- A small pinch of red food colour optional
- 1 teaspoon kewra water or rose-water
- 1/2 teaspoon lemon juice
-
In a mixing bowl, add all-purpose flour (maida), chickpea flour (besan), baking powder, baking soda and sour yogurt. Mix every thing with a spoon.
-
Add turmeric powder to give colour. You can also use food colour if you want to.
-
Add 3- 4 teaspoon luke warm water and mix it.
-
Keep adding water till the consistency reach to pouring. It should neither be too thick nor too thin.
-
Now keep the batter in oven for 10 to 12 hours or over night. In between switch on the oven twice or thrice for 30 seconds to produce heat and then switch it off. This is how batter will ferment nicely. But in hot weather countries like India, fermentation could take place in less time.
-
After the 12 hours fermentation, batter becomes like this. ( Bowl and lighting condition is changed while taking picture but batter is same.) Look at the smooth flow of batter.
-
I used a ketchup bottle to make jalebi. Fill up the bottle with batter.
-
Place a sauce pan over medium heat and add water then sugar. Add saffron threads, green cardamom powder and food colour. Let it boil and then simmer it for 2 minutes. Switch off the flame. The consistency of syrup is nearly short one thread.
-
Remove from heat and then add kewra water or rose-water. Add lemon juice so that sugar syrup doesn’t crystallize. Cover the syrup with lid to keep it warm.
-
Pour oil in a wok and place over medium heat. Right temperature is very important for crunchy jalebi. To check the temperature of oil, drop a tiny drop of batter into the oil. It should immediately come to the surface without changing the colour.
-
Another trick to get correct temperature of oil is to heat the oil on medium high heat and when you are ready to make jalebi, slow down the heat to low.
-
Then squeeze the bottle in hot oil in close spiral motion from inside to outside.
-
Deep fry till both the sides of Jalebi becomes golden and crisp.
-
Mean while you can increase the heat to maintain medium high temperature.
-
Remove the jalebi from oil and put them in the sugar syrup. Flip and turn to make sure sugar syrup is evenly coated on both sides.
-
Remove Jalebi from syrup and place on a sieve to drain excess syrup.
-
Repeat for other jalebi and prepare all.
Jeena says
Gorgeous and Yummy Jalebis… I have never tried my hands in trying this sweet… seeing urs, I am inspired to try and will surely try sooner…
rachnaskitchen says
Thankyou dear, glad that you liked it 🙂
Kurinji says
Mouthwatering, bookmarked
rachnaskitchen says
Thanks dear 🙂
Sundari says
Wow!! Am drooling!! Awesome pics as always!!
Sharmila -The Happiefriends Potpourri Corner says
It is a pleasure reading this post very well explained in fact loved the way you highlighted about hydro .Thanks for that.. Bookmarking this.. It is worth a try !!
rachnaskitchen says
Thanks Sharmila, glad to know that you liked the post.
Lija says
So no need to add salt to batter??? Plz reply fast I will b making this tomorrow
rachnaskitchen says
Yes, salt is not required in this recipe.
Thanks
Lija says
Thanks for ur quick reply… Will cum back after i make it:-D
Sherine says
Is there anything I can use instead of yogurt.
rachnaskitchen says
Hi Sherine,
For the best crunchy jalebi fermentation is necessary. I think Yogurt can’t be substitute with any other ingredient.
Thanks
Nazia says
Hi very nice .i tried and it was perfect.but I want to know that how to keep Jalebis crispy for three days or how to store.thank you.In Humid weather like Malaysia
Sangeeta Chaudhary says
Crispy deliciousness bathed in sugar syrup! Beautiful pictures. Thanks For Sharing
Sandhya says
Hi Guys..Thank you for information..
Madhurima Nandan says
I have made it today.. That was awesome! Thank you sooooooo much!
siddharth dilawri says
I just made this!! My Wife and I both LOVED this recipe. thanks