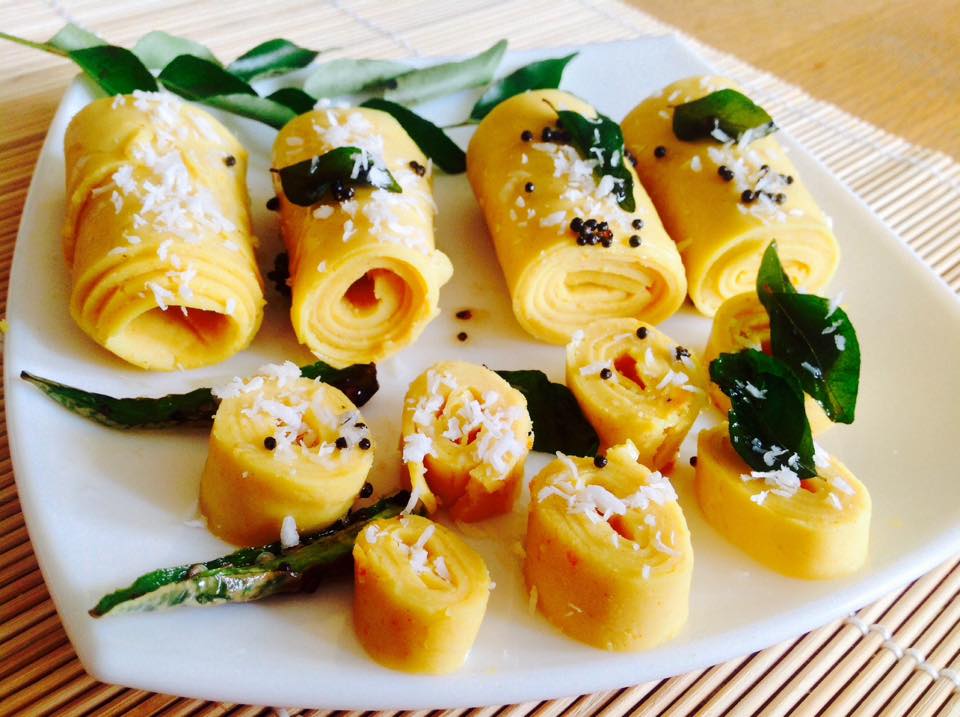
Khandvi Recipe
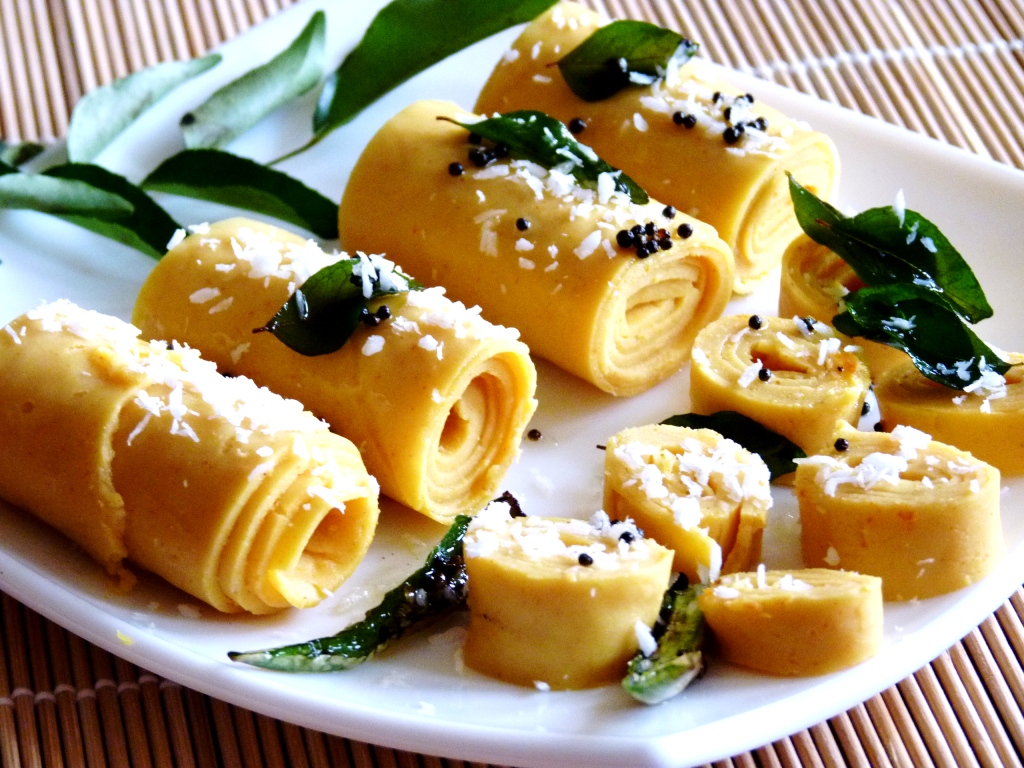
Khandvi is a Healthy snacks from the Indian state of Gujarat, India. It is yellowish in color because of chick pea flour and having the appearance of tightly rolled bite-sized pieces. It is commonly eaten as an appetizer or as a snack food. In other parts of India, this popular dish is also known as Suralichi vadi or Patuli. I am a big fan of gujarati recipes. I tried it for the first time and came out really well as you can see beautiful pictures. Be sure in measuring the ingredients and dish will come out perfect. Lets see the recipe.
Prep time: 5 min| Cooking time: 10 mins |
Type :Snack| Serves 3-4
Ingredients
• 3 cups Butter Milk (Mattha) ( If buttermilk is not available mix 1cup Sour Yogurt + 2 cups Water)
• 1 cup Bengal Gram Flour (Besan)
• ½ tsp Turmeric Powder
• ¼ tsp Asafoetida (Hing)
• ¼ tsp Mustard Seeds
• 2 Green Chillies
• 1 tbsp Sesame Seeds (optional)
• 3-4 Curry Leaves
• 1 tbsp Oil
Step by step khandvi recipe
Combine all dry ingredients (chick pea flour, turmeric powder, salt and hing) well with a whisk.
Now pour butter milk into the mixture and stir it continuously to make smooth batter.
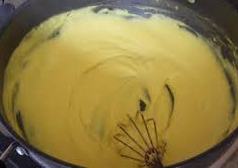 Cook this batter on medium-low flame for 7-8 minutes and stir continuously, to avoid any lump formation. Keep stirring until the batter becomes thick.
Now check whether batter is properly cooked or not, spread a small amount of batter hot batter on a small plate having smooth surface, leave it for minute and then try to peel it and make a roll. If it peels out easily, batter is ready.
 Mean while, keep ready 2-3 steel plates or aluminium foil ( I have used aluminium foil) and a spatula to spread the batter. Now turn off the flame and spread the mixture as thin as possible.
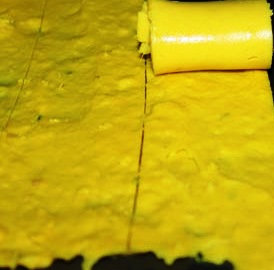 Let it cool. Afterwards, cut the spread into 2-inch wide strips and roll each strip carefully.
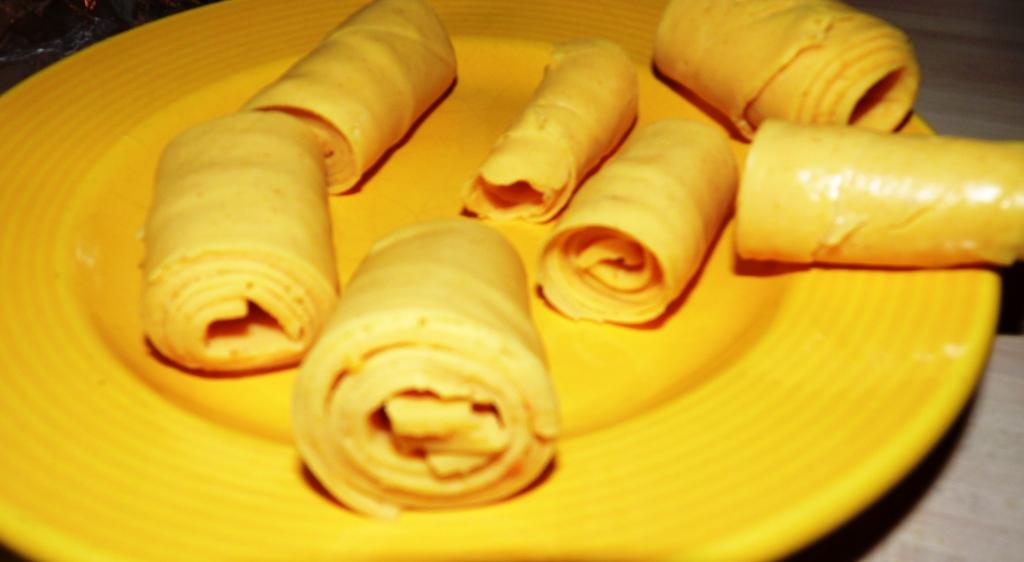
Transfer it into separate plate .
Tempering for khandvi recipe
 Heat the oil. Add mustard seeds, curry leaves, sesame seeds and green chillies to it.
Allow the seeds to crackle. Spread it immediately on the rolls.
Healthy Khandvi is ready to serve.
TIPS-
- One crucial step is to check whether batter is properly cooked or not, spread small amount of batter on a smooth surface like back surface of a plate. Let it cool for a min, if it peels out easily, so mixture is cooked. If not, cook it for few more seconds.
- Once batter become thick and ready to spread, do work as quickly as possible, else mixture will not spread into sheet.
- If buttermilk is not sour enough. Use 2 teaspoons lemon juice and normal buttermilk.
- Always prepare first greased foil or plate (thali) ready before start making it.
Stay tuned for other great recipes .
Thank you
marudhuskitchen says
Incomparable.. Healthy snack
rachnaskitchen says
Thankyou dear !! yes they are healthy.
ritu ahuja says
Lovely khandvis. They look super delicious. Yummy yummy 🙂
rachnaskitchen says
Thankyou ritu !!