How to make Bhindi masala
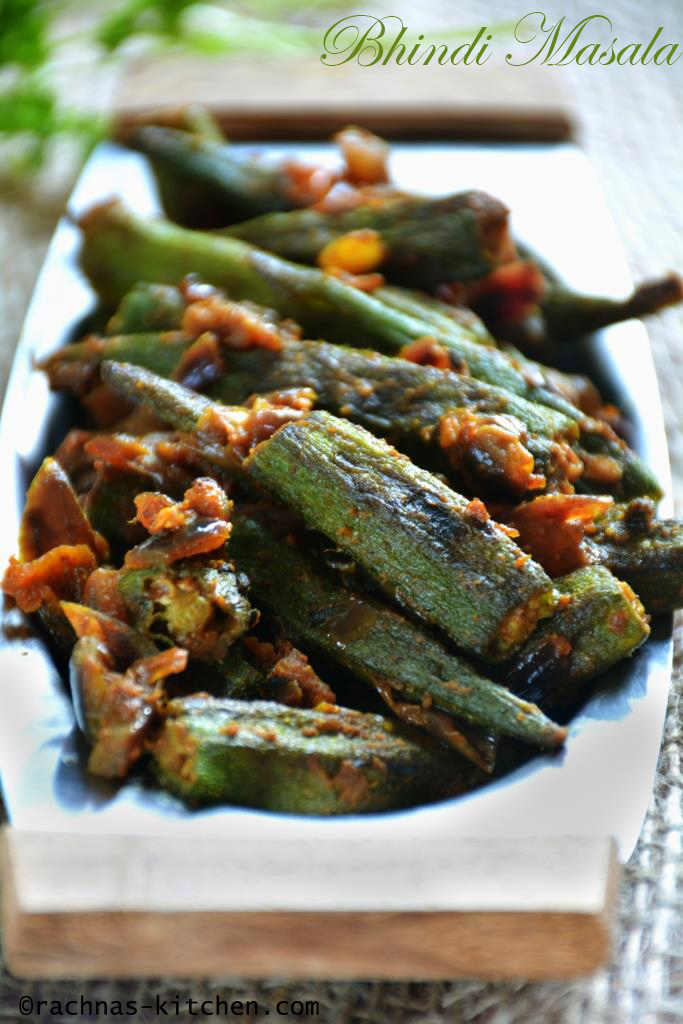
Bhindi masala is a very delicious stir fry okra made with some basic spices along with tangy tomato. It is very simple to make and very flavourful when served with roti or phulka. In my family bhindi masala is served along tadka arhar daal and chapatis.
In this bhindi masala recipe, I have shallow fried the bhindi to reduce the sliminess. Sauteing in oil makes it crunchy and removes stickiness.
I don’t like this bhindi masala sour so did not add lemon or dry mango powder(amchur powder). Using two tomatoes makes it enough tangy.
If you are a okra lover then you are surely going to enjoy this bhindi masala. Now over to the recipe:-)
Ingredients
Bhindi/okra – 250 grams
Olive oil – 2 tbsp
Ginger-garlic paste – 1 teaspoon
Onion – 2 small size, chopped
Tomatoes – 2 medium size, chopped
Coriander powder – 1 tsp
Red chili powder – ½ tsp
Turmeric powder – ½ tsp
Garam masala powder- ½ tsp
Salt as required
Step by step bhindi masala
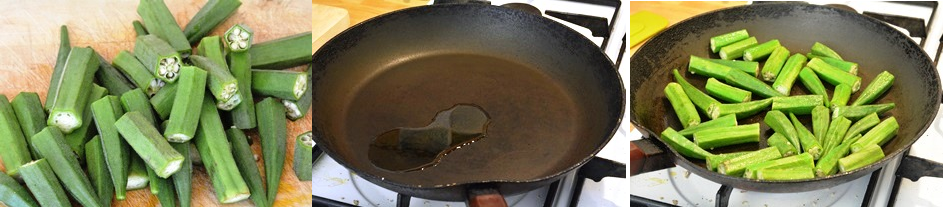
Step 1. Cut the bhindi into chunks removing head and tail. I like this way. If you wish you may cut into smaller pieces.
Heat a non-stick pan over medium flame. Add 1 table spoon of olive oil or any vegetable oil. Once oil heat up, add bhindi to the pan.
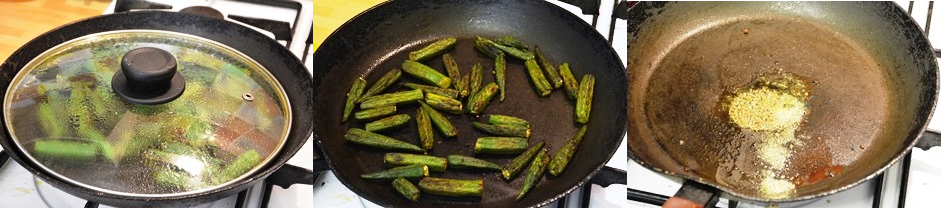
Step 2. Saute for a minute and cook the bhindi on low flame with the lid on. Don’t forget to remove water which collects on lid. This may take upto 6- 7 minutes. In-between stir them frequently so that they don’t get burn. Once bhindi gets cooked , saute on medium flame for 2 min without lid. This way bhindi becomes crunchy, cooked properly and also cooking time decreases. Now transfer them in a plate. In the same pan add 1 tablespoon of oil. Once oil gets heat up add cumin seeds.
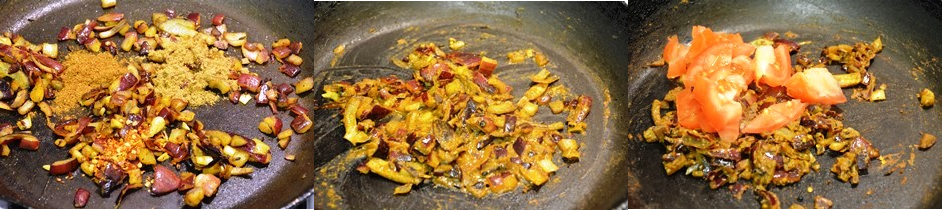
Step 3. Now add chopped onion. Saute them till they turn transparent. Add ginger garlic paste, saute till raw aroma goes. Add turmeric powder and saute for 40 seconds.
Note- I like to add turmeric powder before adding any other spice because turmeric is bitter in nature and also takes little more time to cook.

Step 4. Add garam masala, coriander masala and red chili powder. Saute the masala for a 1 minute. Add roughly chopped tomatoes.
Step 5. Let the tomatoes cooked on low heat. When masala starts coming together it means masala is cooked now . Add prepared bhindi and mix them thoroughly with masala. Add salt to taste. Saute for 2 min. Bhindi masala is ready to serve hot phulka or naan.


Recipe card – Bhindi masala

- Bhindi/okra – 250 grams
- Olive oil - 2 tbsp
- Ginger garlic paste – 1 teaspoon
- Onion – 2 small size chopped
- Tomatoes - 2 medium size chopped
- Coriander powder - 1 tsp
- Red chili powder -½ tsp
- Turmeric powder-½ tsp
- Garam masala powder -½ tsp
- Salt as required
-
Cut the bhindi into chunks removing head and tail.
-
Heat a non-stick pan over medium flame.
-
Add 1 table spoon of olive oil or any vegetable oil.
-
Once oil heat up, add bhindi to the pan.
-
Saute for a minute and cook the bhindi on low flame with the lid on.
-
In-between stir them frequently so that they don't get burn.
-
Once bhindi gets cooked , saute on medium flame for 2 min without lid.
-
This way bhindi becomes crunchy, cooked properly and also cooking time decreases.
-
Now transfer them in a plate.
-
In the same pan add 1 tablespoon of oil.
-
Once oil gets heat up add cumin seeds.
-
Now add chopped onion.
-
Saute them till they turn transparent.
-
Add ginger garlic paste, saute till raw aroma goes.
-
Add turmeric powder and saute for 40 seconds.
-
Now add garam masala, coriander masala and red chili powder.
-
Saute the masala for a 1 minute. Add roughly chopped tomatoes.
-
Let the tomatoes cooked on low heat.
-
When masala starts coming together it means masala is cooked now .
-
Add prepared bhindi and mix them thoroughly with masala.
-
Add salt to taste. Saute for 2 min.
-
Bhindi masala is ready to serve hot phulka or naan.
You may add amchur powder (dry mango powder) to increase the tanginess.
If you are looking for more vegetable curries you may like
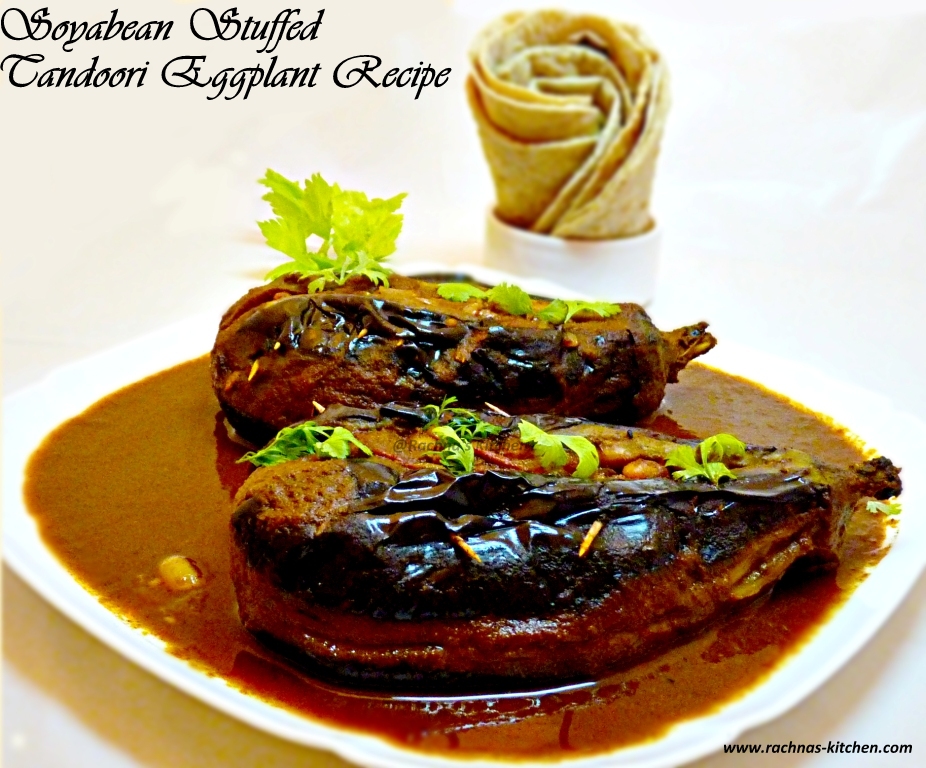
1. Tandoori – Soyabean Stuffed Eggplant Recipe
Anu-My Ginger Garlic Kitchen says
Yummylicious! Loved this version of restaurant style okra! Lovely share! 🙂
rachnaskitchen says
Thankyou Anu !!
Kirti says
I am a huge fan of Bhindi…its a fantastic recipe and pics are lovely !
rachnaskitchen says
Thanks a lot Kirti
Nava Krishnan says
How can anyone don’t like this okra dish? I am there with them for this yummy spicy dish.
rachnaskitchen says
I agree with you Nava this okra masala is delicious !!
marudhuskitchen says
Gorgeous yummy okra masala recipe
rachnaskitchen says
Thanks Vaani !!
Annie @ The Garlic Diaries says
This looks awesome! I’ve never made anything like this but I definitely want to try it! I need to cook with okra more.
rachnaskitchen says
Thank you Annie for such nice words. Definitely you will like it but you may want to adjust chilli and salt to your taste as Indian curries are usually hot:-)
Shweta A says
wow this looks really creative and interesting….yum yum yum 🙂
rachnaskitchen says
Thankyou Shweta 🙂
Gauri says
Made this yesterday, but what we maharashtrians do is normally add little jaggery and tamarind paste to it… sometimes even peanut powder… Your version looks terrific 🙂
rachnaskitchen says
Thankyou Gauri for providing information. I never tried your way but definitely love to. Shall give a try soon:-)
padma says
Bhindi is one of my most favourites…loved the recipe Rachna…awesome clicks!!…Infact today I made bhindi for lunch!!
rachnaskitchen says
Thankyou Padma, What a coincidence…Bhindi masala is staple dish in our Indian kitchen.
Sundari says
My all time fav!! Looks super delish!!
rachnaskitchen says
Thanks Sundari !!
Jeena says
Yummm Yummm Yummmm, sabji is just awesome, perfect with phulkas, and it looks soooo wow, that I am feeling hungry tooo. Great clicks as always.
rachnaskitchen says
Thanks a lot Jeena, your words made my day. Love your feedback comments always!:-)
Veena Bargur says
Hi Rachna…
Excellent recipe…tried out …was delicious n easy too.
Thank u for sharing such recipe and keeping our traditional dishes awesomeeeee…
Trisha says
Hi Rachna, I recently tried this recipe out. It was fantastic. My husband requested that I make this again – this is high praise, coming from him 😉
Thank you for sharing a great recipe.
rachnaskitchen says
Thank you so much Trisha.