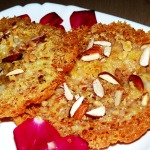
Ghevar recipe step by step preparation

Ghevar is a Rajasthani easy dessert specially made on Festivals in rainy season like the Teej and Rakhsha Bandhan. The reason why ghevar recipe is made only during the rains is that a degree of moisture is necessary. It is a round plate-shaped sweet which is made from oil, flour and sugar syrup. It is also known as Honeycomb dessert and is one of the best dessert recipe. There are many varieties of Ghevar such as plain, mawa and malai Ghevar. This easy dessert recipe is a delectable delicacy traditionally prepared in Rajasthan but is now eminent all over the India. I made this dessert for my 50th (Golden Jubilee) food blog post. Let’s go through the recipe.
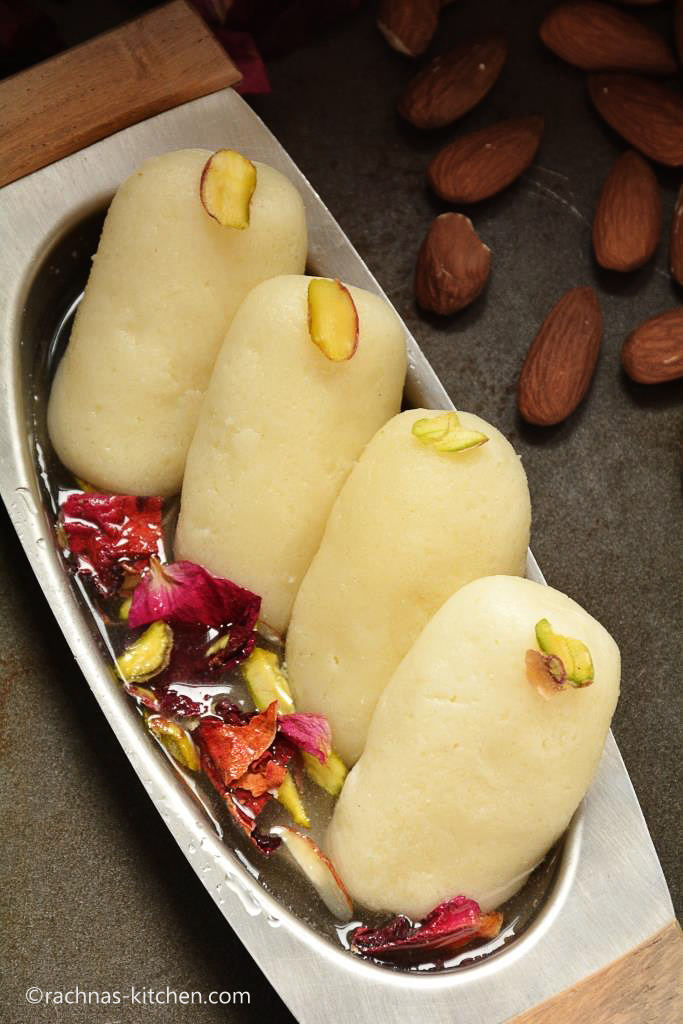
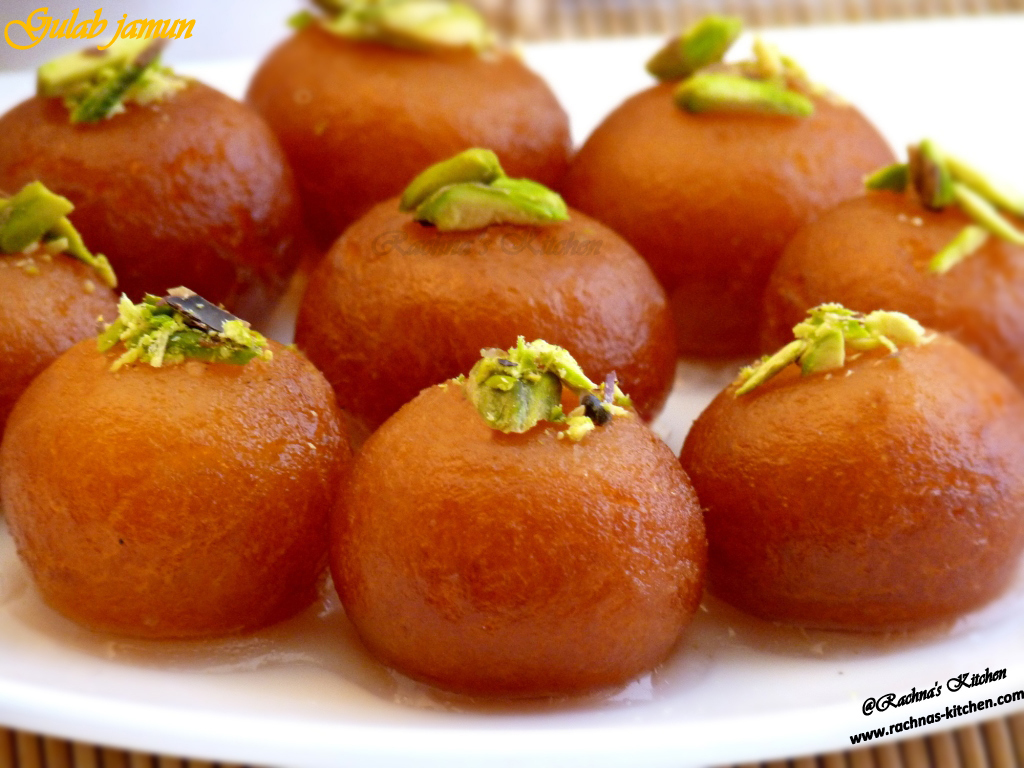
You may like some other dessert recipes like Gulab jamun recipe with milk powder, Kala jamun, gulab jamun with khoya Full proof rasmalai recipe, Angoori rabdi ,Pista paan,Balushahi recipe
INGREDIENTS
1 ½ cup Maida (all-purpose flour)
½ cup Ghee
½ cup Milk
1 ½ cup Water
Ghee – to fry
For Sugar syrup
1 ½ cup Sugar
1 cup Water
Step by step Ghevar recipe
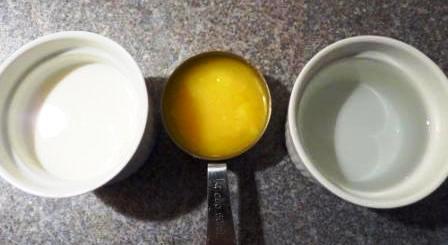
Step 1. First take three ingredients separately i.e. milk, ghee(clarified butter) and water.
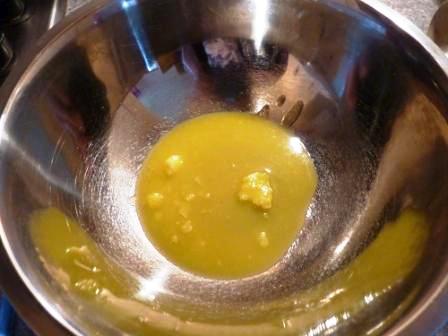
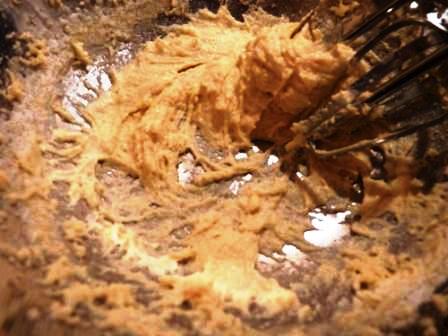
Step 2. Pour ghee and cold milk in a bowl and whisk it well, so it mixes properly. You can use hand blender to save workload, if it’s not available, use a whisk. Blend it till ghee and milk emulsify into a smooth mixture and do not separate as shown in picture below.
Note – Be careful not to blend it for a long time else the ghee would separate.
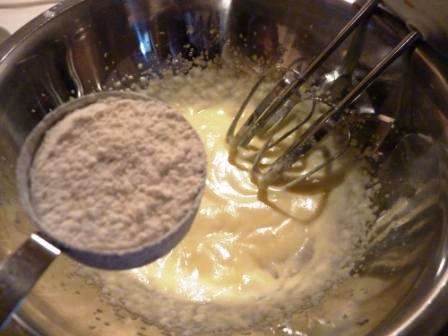
Step 3. Sieve the maida and add into the mixture above and whisk again.
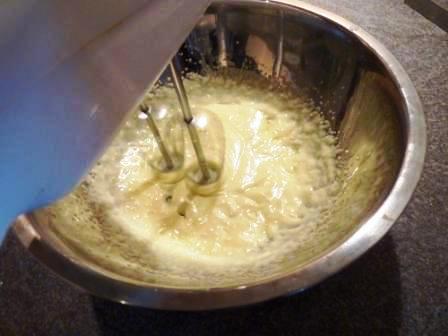
Step 4. Make sure that no lumps are left behind and the batter formed is smooth. Now add water little by little and mix it well into a smooth consistency.
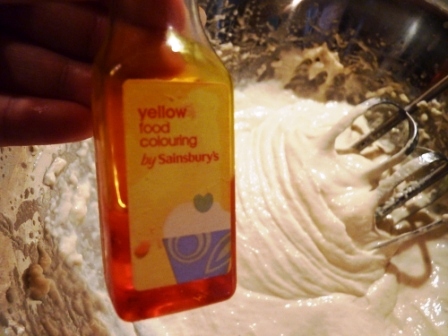
Step 5. Now add food color if you want (I have used oil based food color) . Mix it well.
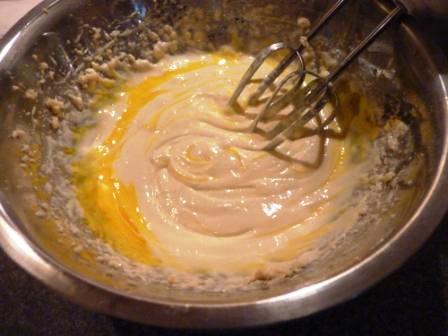
It should look be like this.
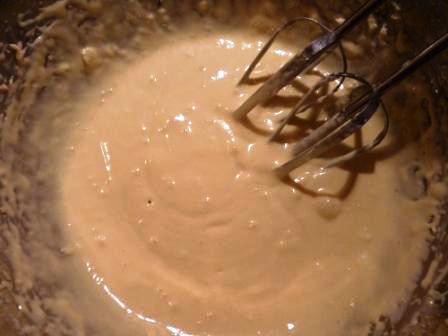
The consistency of the batter should be such that if we drip the batter from the spoon, then it should fall like a string. (Check pictures for consistency)

Frying the ghevar
Step 6. Take a round deep and flat-bottomed vessel ( I used a Pressure cooker as shown in the pic, Use a cylindrical vessel ).
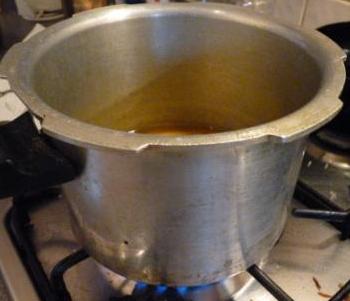
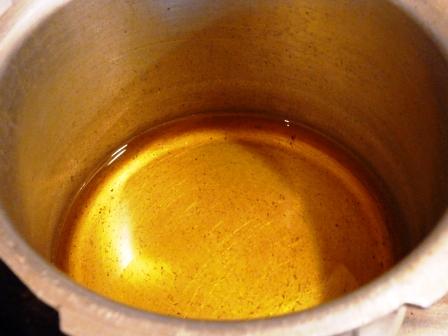
Step 7. Heat ghee in a deep vessel. The quantity of ghee should be half of the density of the vessel. Heat it on high flame till the ghee gets very hot. Check the right temperature by dropping a small amount of the batter and see if it immediately comes up, without any delay, then its correct temperature.
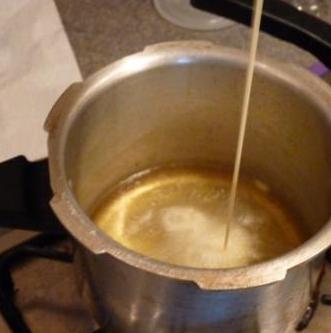
Step 8. Pour much batter into the ghee to make a big circle depending on the how thick ghevar you want to make. I used two spoonful of batter. Pour the batter slowly in one continuous thin stream in the centre of the pan.
Step 9. Bubbles start spluttering all over the surface of oil. Let the foam settle down. If the centre point is totally covered , then use ladle to make little space in the centre and keep on pouring the batter.
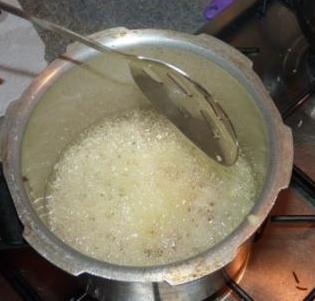
Take 1- 2 min interval between pouring of batter.
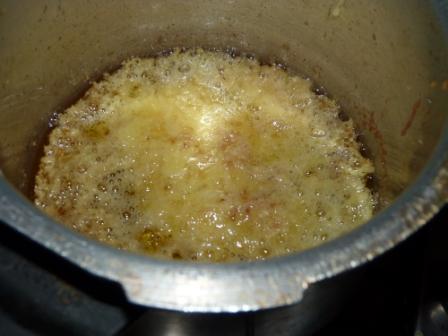
Turn flame low once you have poured batter into the ghee. Let it fry until it turns light brown in color.

Step 10. Once the ghevar has turned to brown in color, means it is cooked now. Take out the ghevar in a plate lined with tissue paper. 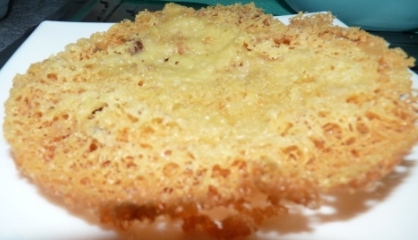 See the beautiful net has formed .
Preparing the Sugar syrup
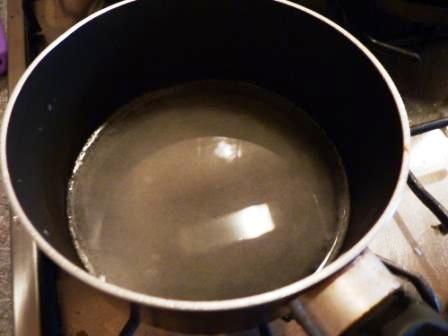
Step 11. Add water and sugar to pan. Bring them to boil with occasional stirring. After the boil, heat it on low flame for 5-6 minutes till you get a one-string consistency.
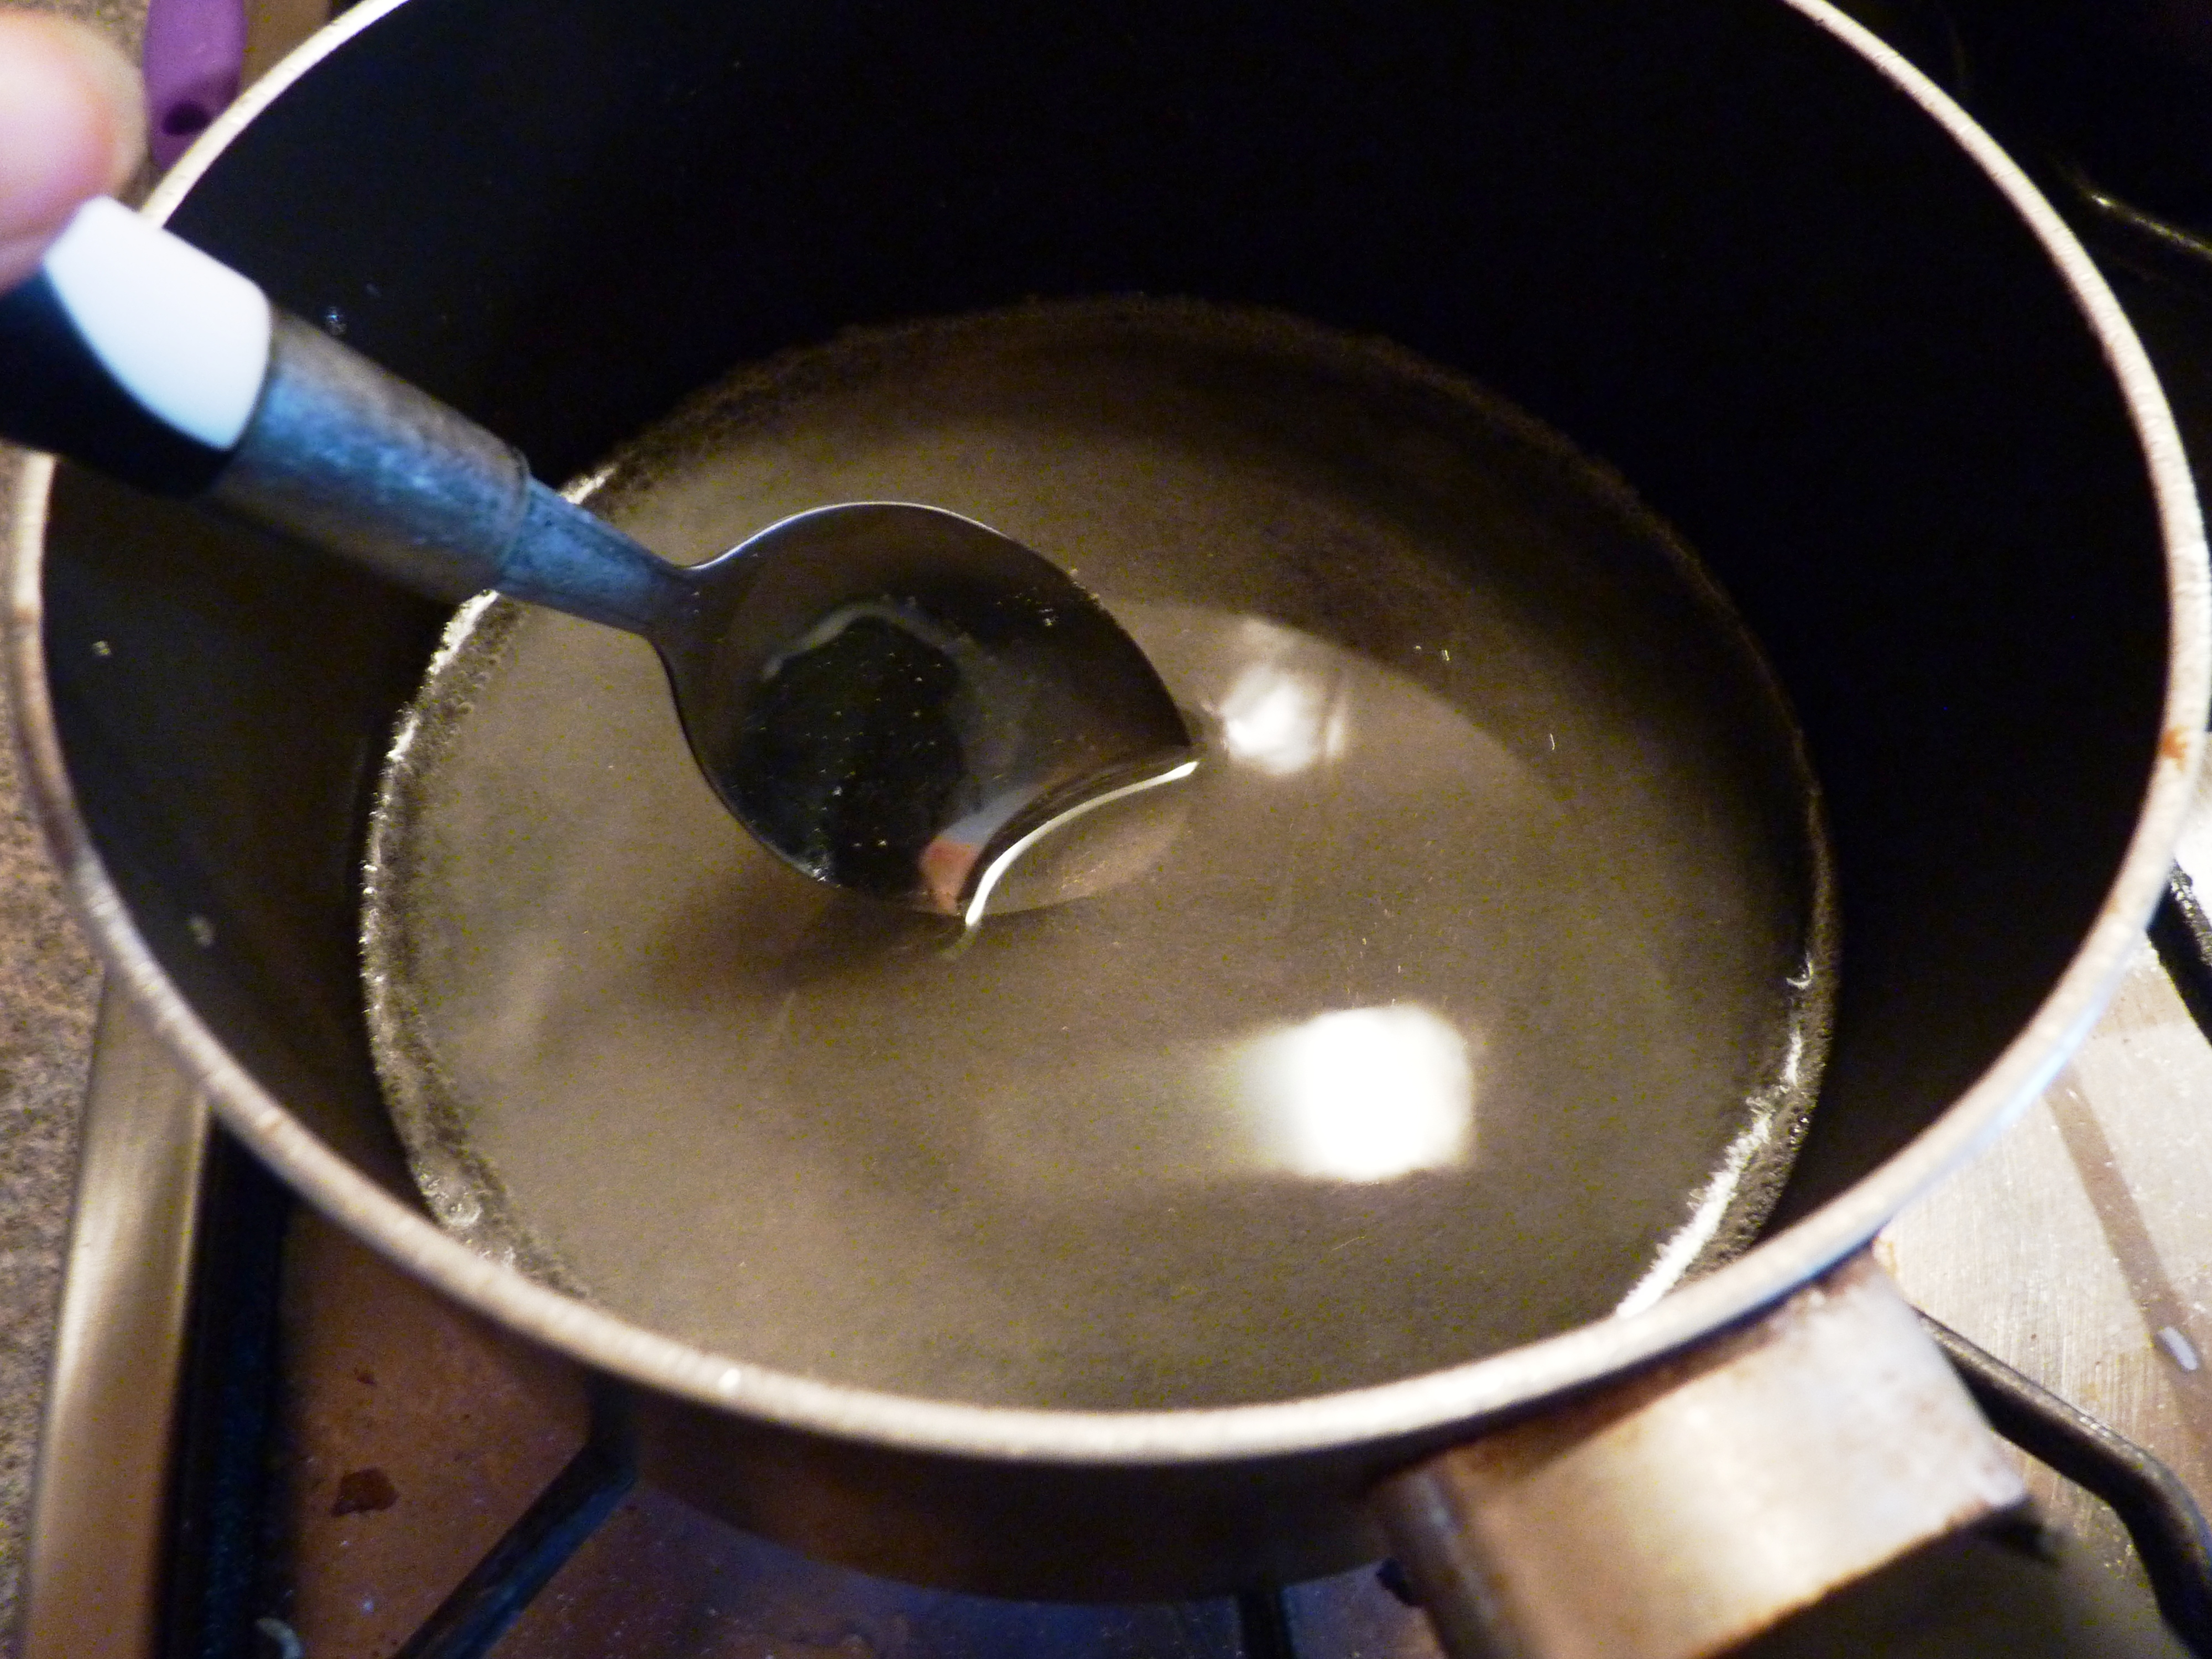
Step 12. Pour a drop of syrup on a plate to check. Once it cools down a little bit, take it between your thumb and a finger and see if it sticky or not. If you feel stickiness between your fingers forming a single string, then it means that your syrup is ready.
Turn off the flame. Let the syrup cool down.

Step 13. Now dip the ghevar into sugar syrup for 1 to 2 min and take it out. Keep the ghevar dipped in the syrup on a plate and tilt it, so that any excess syrup gets drained.
Your delicious Rajasthani Ghevar is ready. Garnish the Ghevar with rabri and nuts to make it more tempting.

Tips
• You can store it in an air-tight container which can be consumed for up to 2 weeks.
• While making the batter, be careful not to blend it for a long time else the ghee would separate.
• If temperature of oil/ghee is not correct, you will find the batter sticking to the bottom, turn flame on max, wait for a minute and try again. I am telling you with my experience.
• Keep the height for pouring batter as high as possible.
• After topping them with hot syrup, keep them at room temperature for some time.
• You can also garnish the Ghevar with fresh Mawa or Condensed milk (whatever available).
• Do not keep the ghevar in the syrup for long, as it will make them very soggy and wet.
• Ghevar without syrup can easily be stored for 20 days. Whenever you get cravings for sweet, dip them in the hot syrup an hour back and serve then.
Recipe card – Ghevar recipe
- 1 ½ cup Maida all-purpose flour
- ½ cup Ghee
- ½ cup Milk
- 1 ½ cup Water
- Ghee - to fry
- For Sugar syrup
- 1 ½ cup Sugar
- 1 cup Water
-
First take three ingredients separately i.e. milk,ghee(clarified butter) and water.
-
Pour ghee and cold milk in a bowl and whisk it well, so it mixes properly. You can use hand blender to save workload, if it’s not available, use a whisk. Blend it till ghee and milk emulsify into a smooth mixture and do not separate.
-
Be careful not to blend it for a long time else the ghee would separate.
-
Sieve the maida and add into the mixture above and whisk again.
-
Make sure that no lumps are left behind and the batter formed is smooth.Now add water little by little and mix it well into a smooth consistency.
-
Now add food color if you want (I have used oil based food color). Mix it well.
-
The consistency of the batter should be such that if we drip the batter from the spoon, then it should fall like a string. (Check my pictures for consistency)
-
Frying the ghevar:
-
Take a round deep and flat-bottomed vessel. Heat ghee in a deep vessel.
-
The quantity of ghee should be half of the density of the vessel. Heat it on high flame till the ghee gets very hot.
-
Check the right temperature by dropping a small amount of the batter and see if it immediately comes up, without any delay, then its correct temperature.
-
Pour much batter into the ghee to make a big circle depending on the how thick ghevar you want to make.
-
I used two spoonful of batter. Pour the batter slowly in one continuous thin stream in the center of the pan.
-
Bubbles start spluttering all over the surface of oil.
-
Let the foam settle down. If the center point is totally covered , then use ladle to make little space in the center and keep on pouring the batter.
-
Take 1- 2 min interval between pouring of batter.
-
Turn flame low once you have poured batter into the ghee. Let it fry until it turns light brown in colour.
-
Once the ghevar has turned to brown in color, means it is cooked now. Take out the ghevar in a plate lined with tissue paper.
-
Preparing the Sugar syrup
-
Add water and sugar to pan. Bring them to boil with occasional stirring. After the boil, heat it on low flame for 5-6 minutes till you get a one-string consistency.
-
Pour a drop of syrup on a plate to check. Once it cools down a little bit, take it between your thumb and a finger and see if it sticky or not. If you feel stickiness between your fingers forming a single string, then it means that your syrup is ready.Turn off the flame. Let the syrup cool down.
-
Now dip the ghevar into sugar syrup for 1 to 2 min and take it out. Keep the ghevar dipped in the syrup on a plate and tilt it, so that any excess syrup gets drained.
-
Your delicious Rajasthani Ghevar is ready. Garnish the Ghevar with rabri and nuts to make it more tempting.
Some other Indian desserts are available on blog
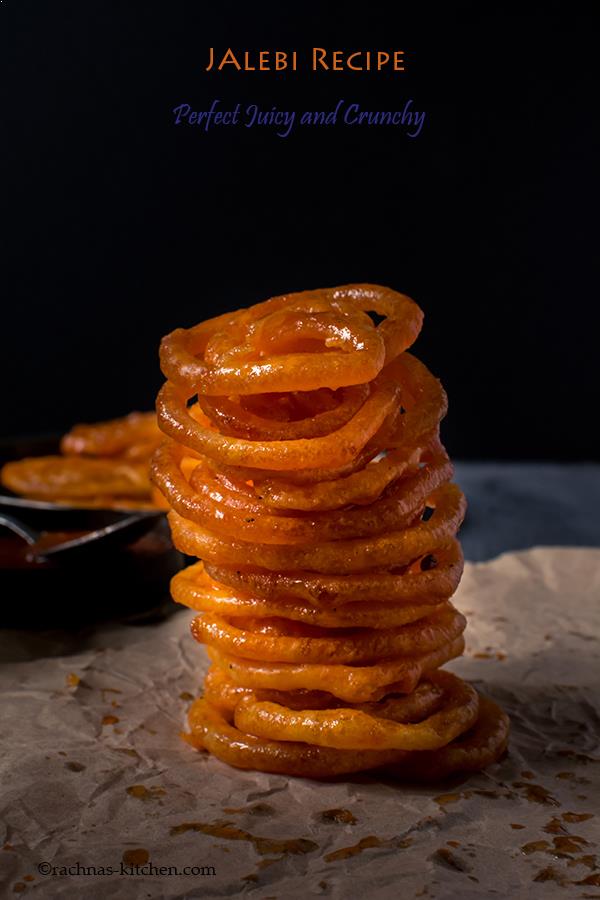
1. Jalebi recipe without yeast
3. Gulab jamun with milk powder
Jeena says
Wonderfully made.
rachnaskitchen says
Thankyou Jeena..