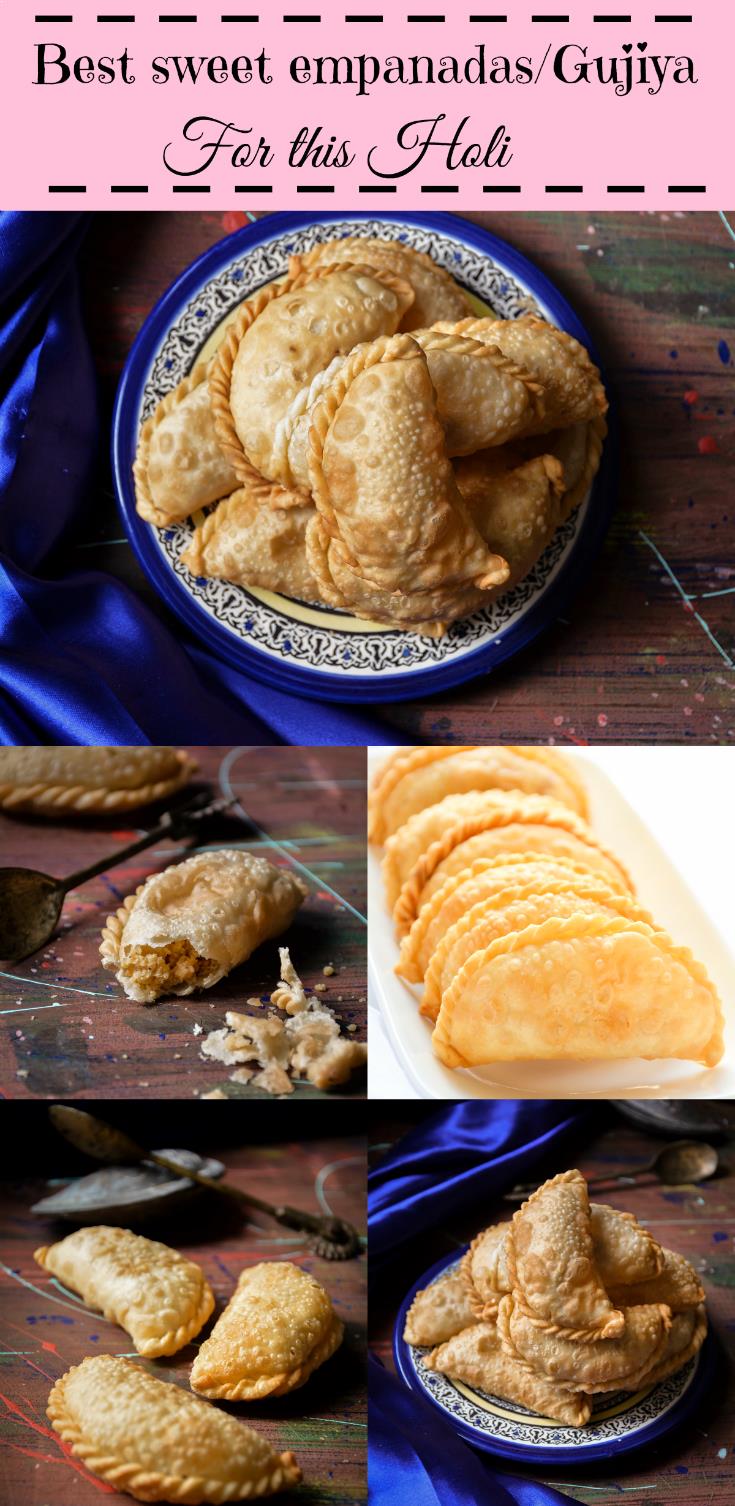
Gujiya recipe with step by step pictures and video. Both Baked and Fried gujiya versions
Any festival in india is incomplete without dessert. Gujiya is one of the staple dessert prepared especially on Holi festival. Few people also prepare it on Diwali. On holi, many like to serve it with thandai,which is a delicious beverage.
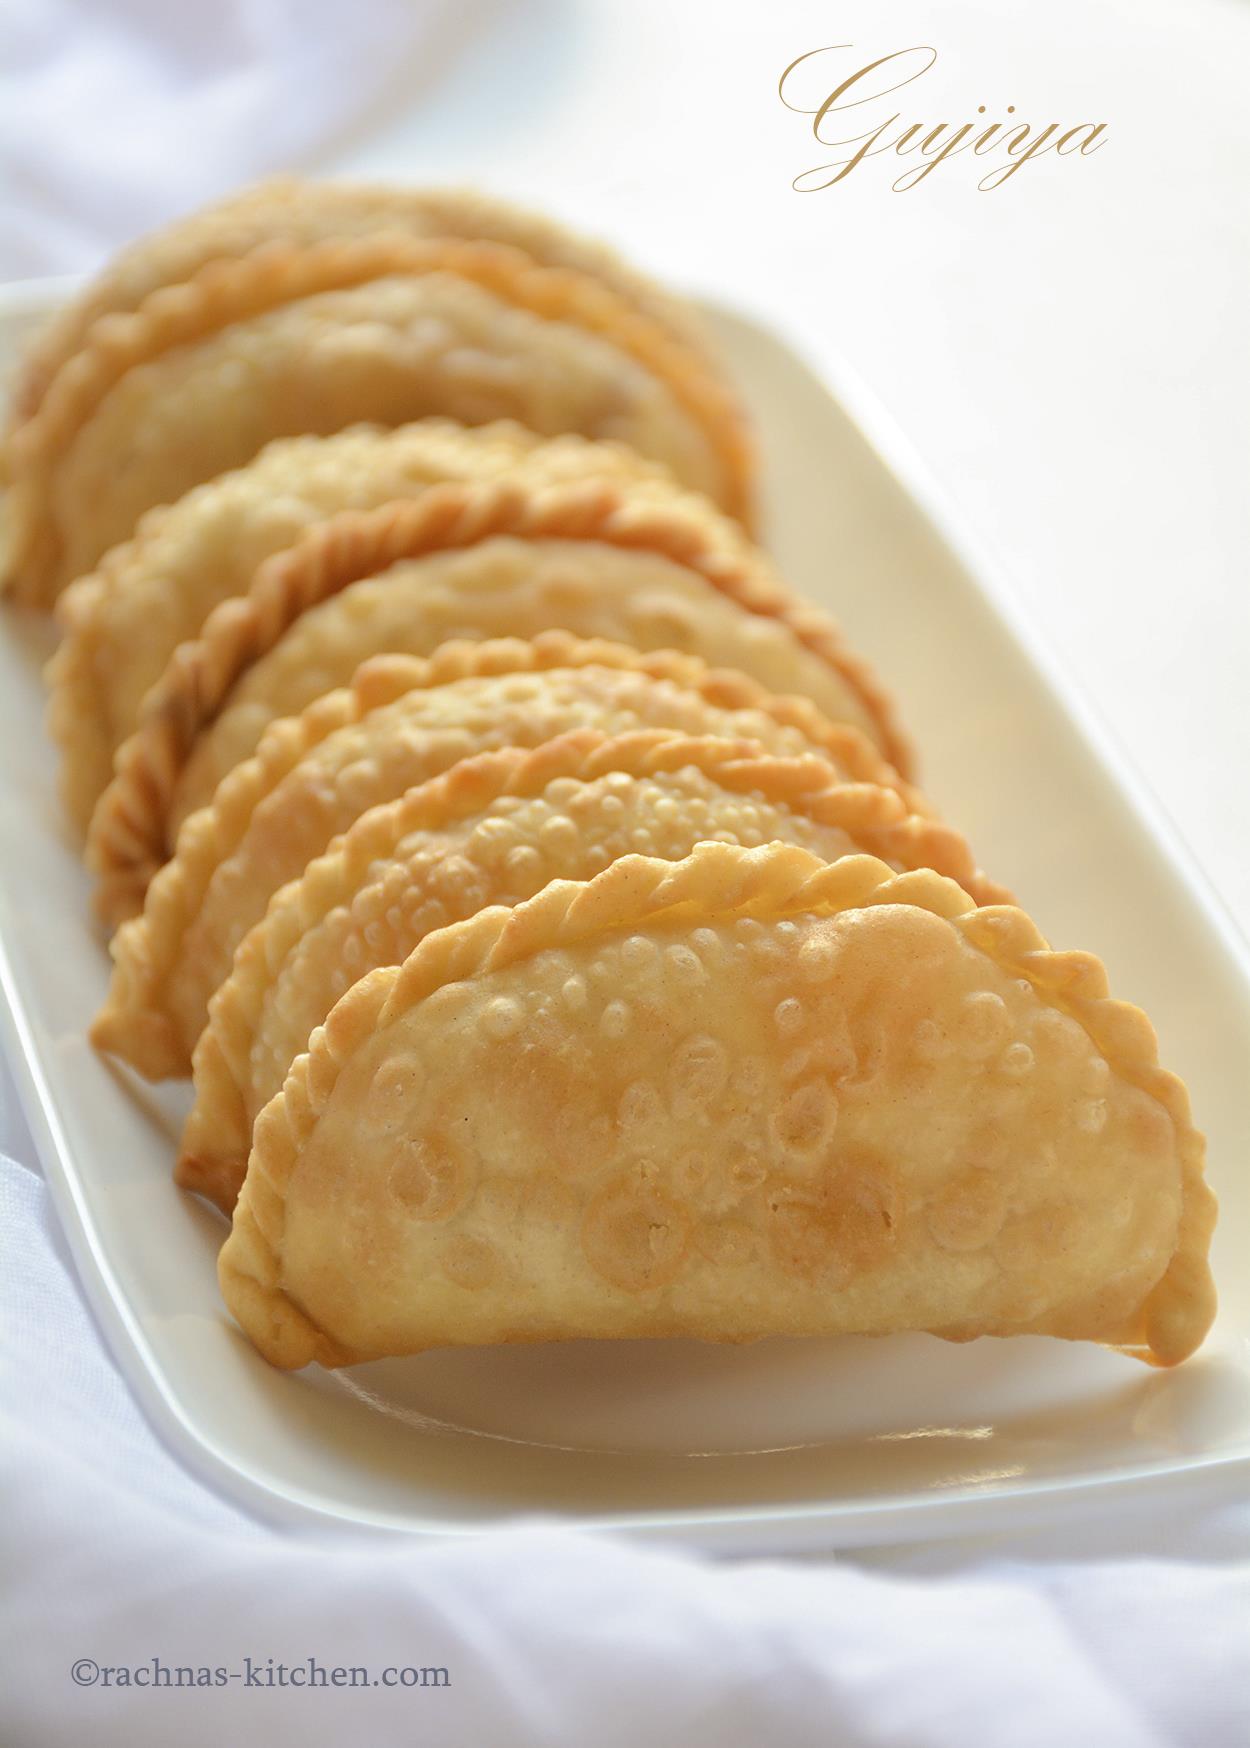
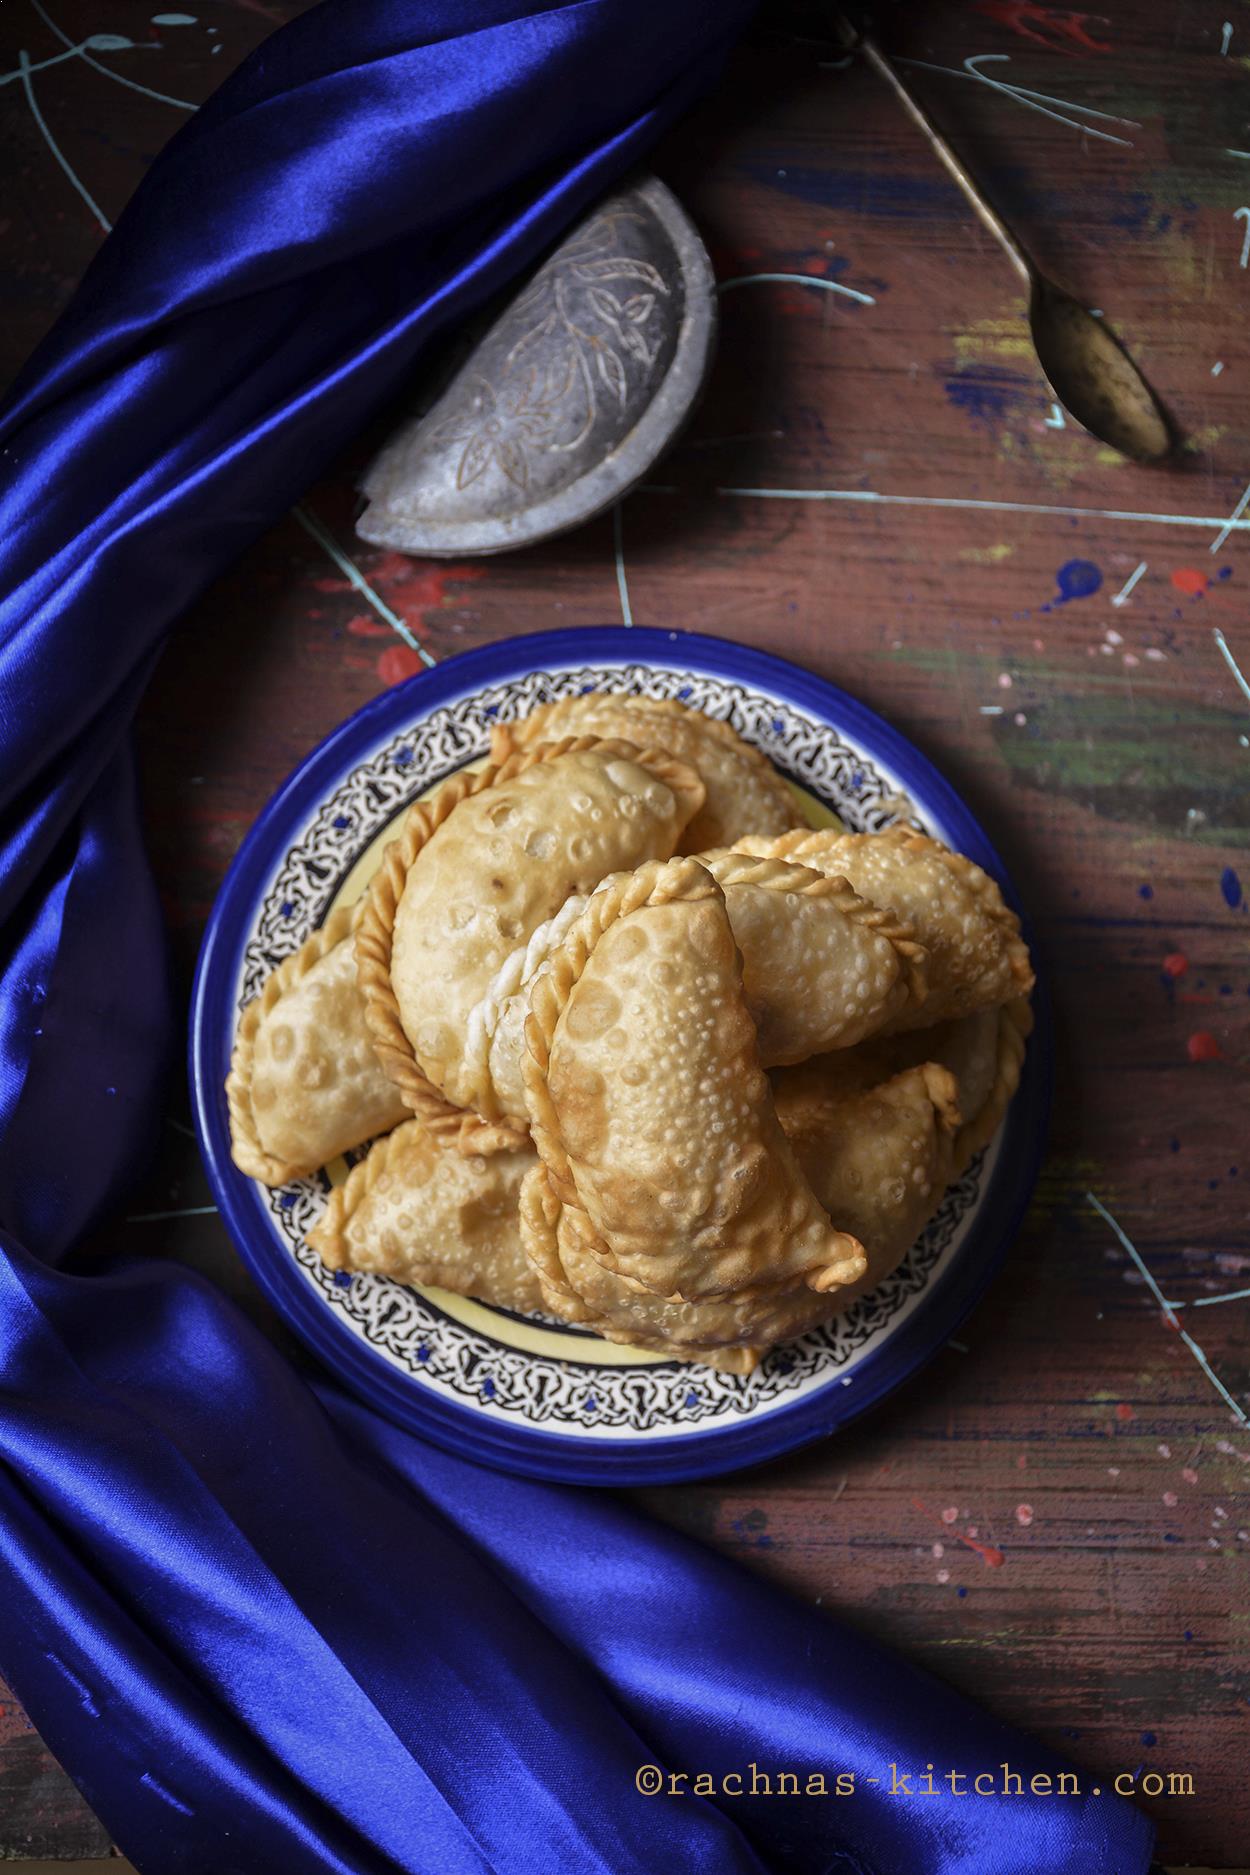
Gujiya is a fried crispy flaky pastry stuffed with sweet mawa filling. It is prepared in different states with different names. In Andhra Pradesh they are known as Kajikalayu, Nevries in Goa, Karachika in Tamil nadu, Ghughra in Gujarat, Karanji in Maharastra. They all are similar in making but have different ingredient in stuffing.
There are many other variations of filling used in preparing gujiya like suji filling, coconut filling and dry fruits. I have made gujiya recipe with traditional mawa filling , You can also prepare mawa at home, read instant khoya recipe.

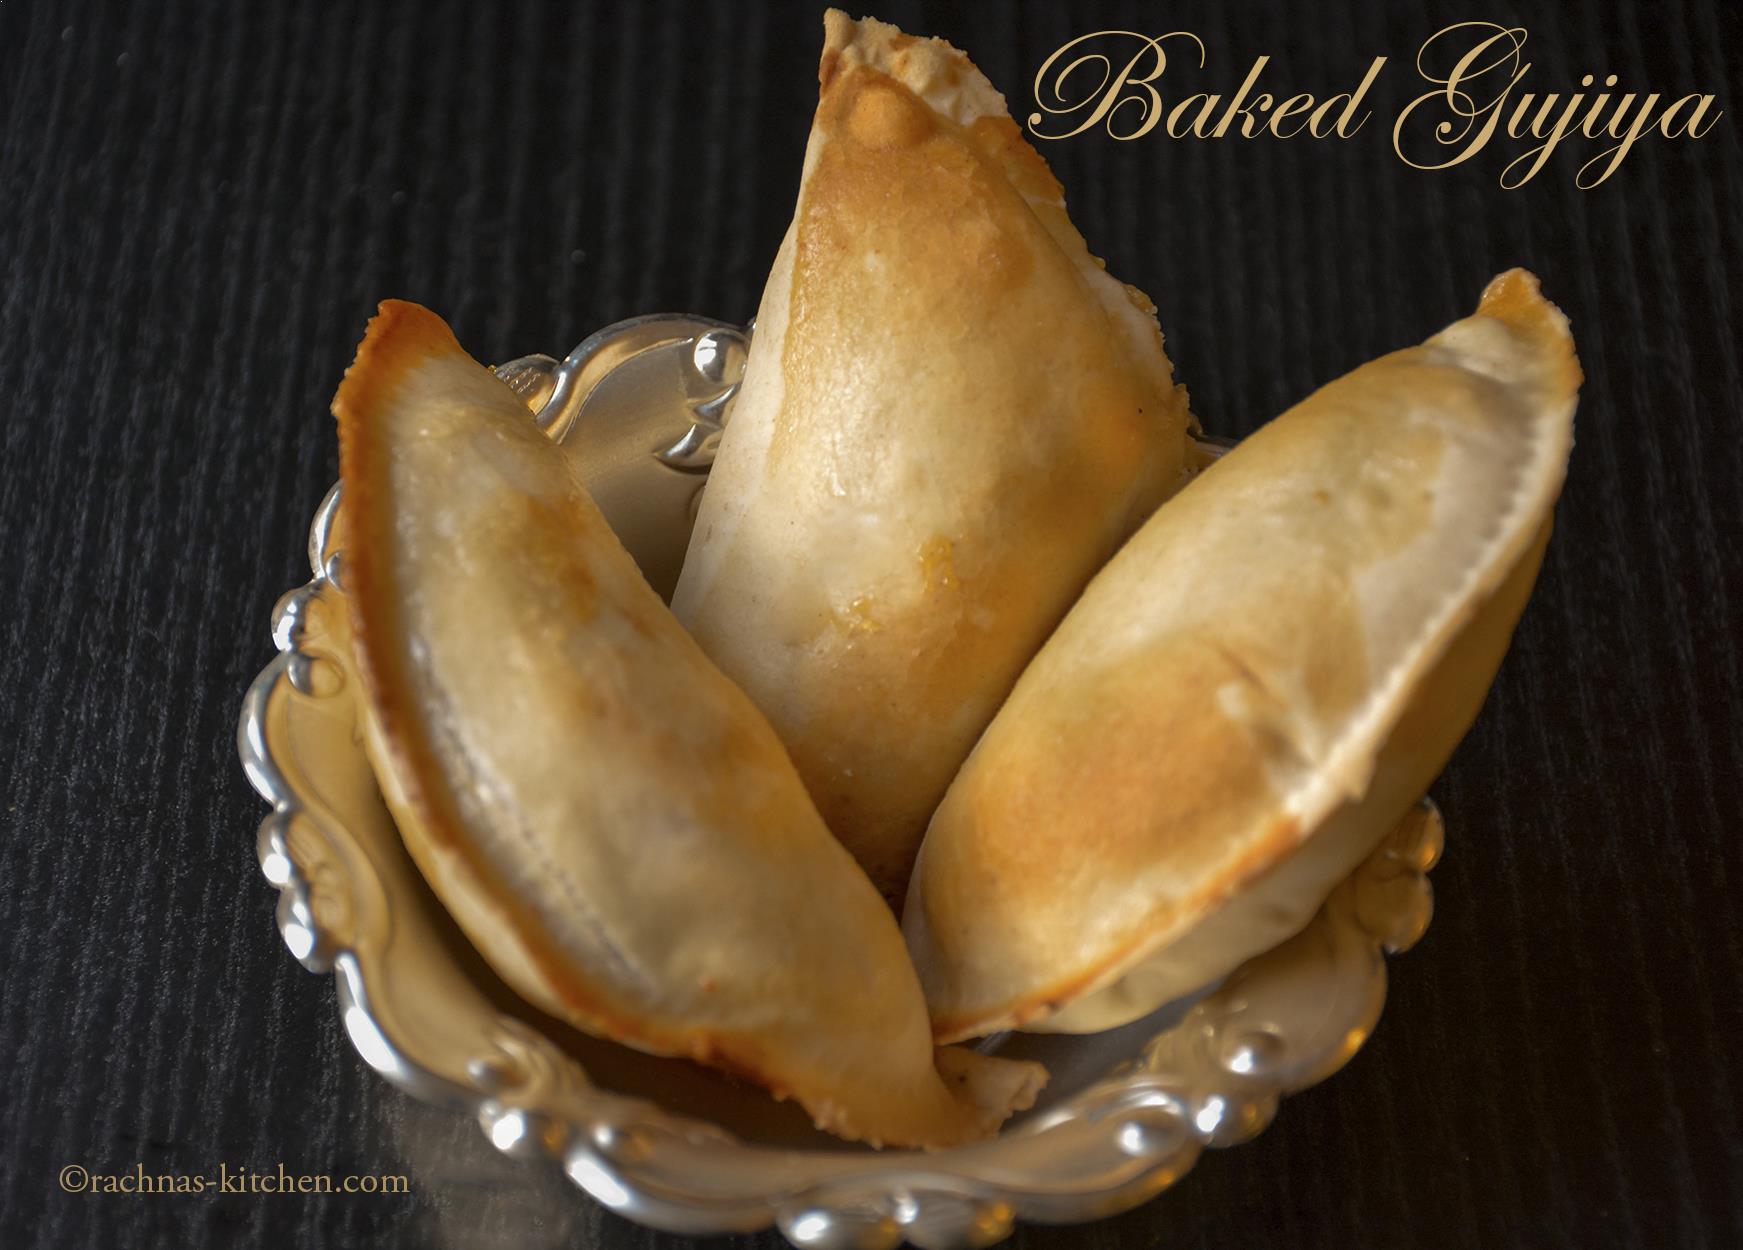
In this gujiya recipe, I have posted two methods fried and baked. I didn’t find much difference in taste of gujiya for both methods. Even I liked the baked version more than the fried.
If you are looking for some festival recipes, you may like Best soft Rasmalai recipe at home, Angoor rabdi recipe,Kaju katli recipe, Instant jalebi recipe and Kaju pista roll recipe
Ingredients
For pastry dough
1 Cup All purpose flour / Maida
1 ½ Tablespoon Clarified butter /Ghee
A pinch of salt
1/3 Cup Water
For gujiya filling
½ Cup Khoya/Mawa
½ Cup Powdered sugar or boora
2 Tablespoon chopped dry fruits
½ Teaspoon Cardamom powder
A pinch of nutmeg powder
For frying
4 Cups Ghee or oil
Let’s prepare Gujiya recipe step by step
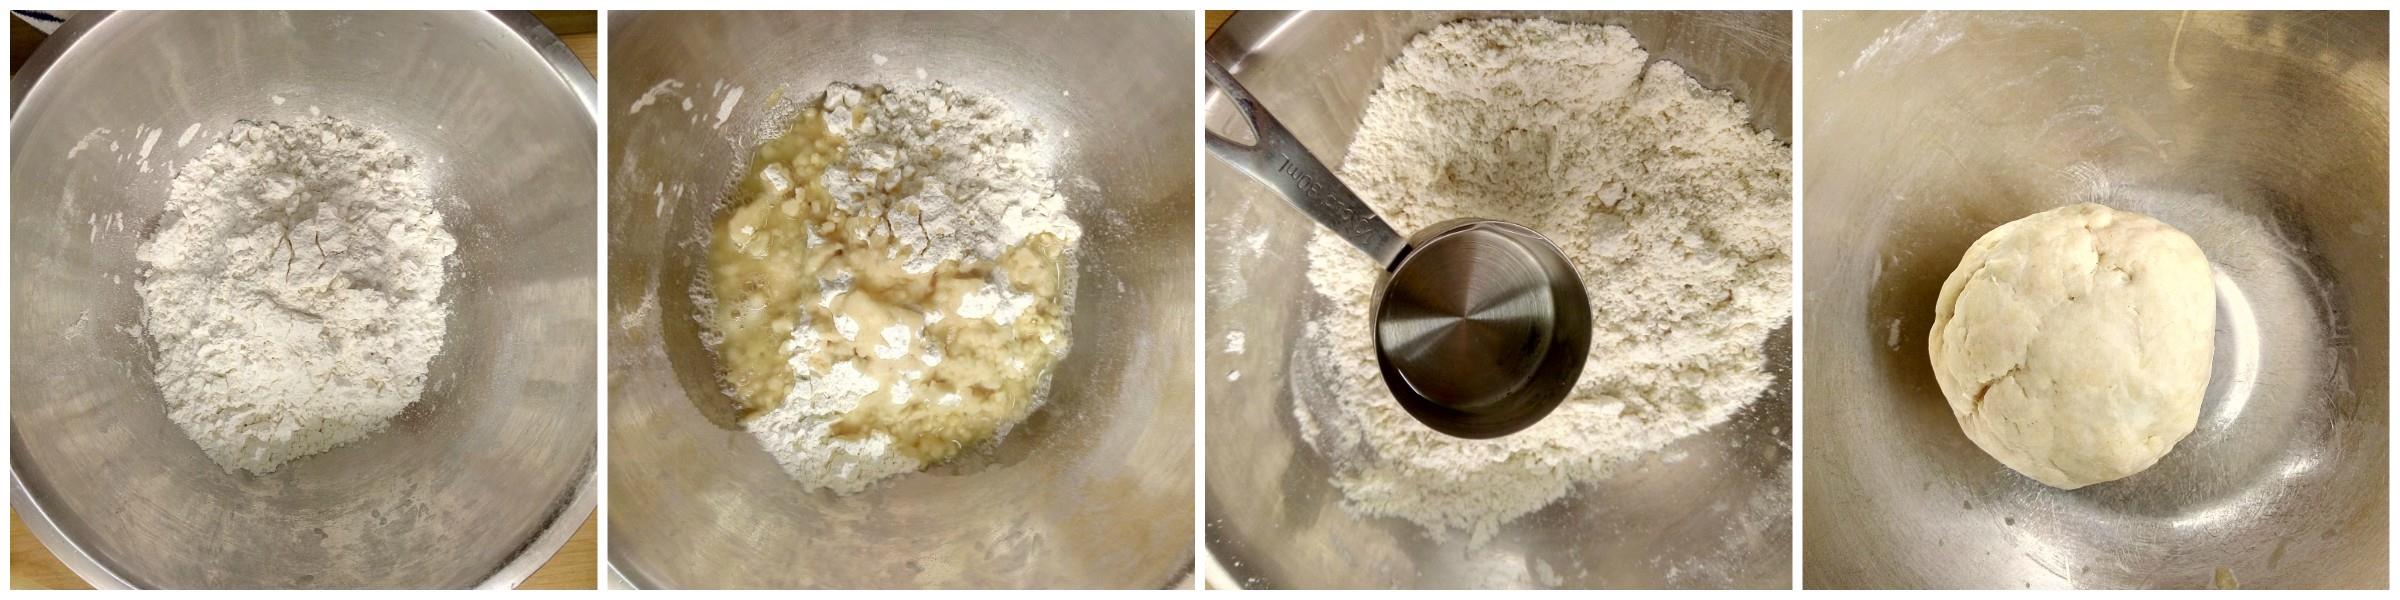
Step 1. Preparing the dough for crust
In a large mixing bowl, add flour and salt. Heat the ghee in a small pan and pour in the flour. This process is also called adding moyen. Mix ghee well with flour. It will become like bread crumb texture. Add water and knead the dough. Dough should be stiff. It took me 1/3 cup of water. When dough is kneaded, leave it on counter for at least 15 minutes to rest.
Question – Why my gujia becomes hard after frying or breaks up in the oil while frying?
Answer– The outer crust comes out crisp and flaky not dry and hard if you measure you ingredients correctly. The ratio of flour, ghee and water is very important factor on how your gujia will turn out. If you add less fattening also called moyen, the gujiya will be hard. If you add more moyen than required, gujia may break in the oil while frying. Also never overstuff gujiya.
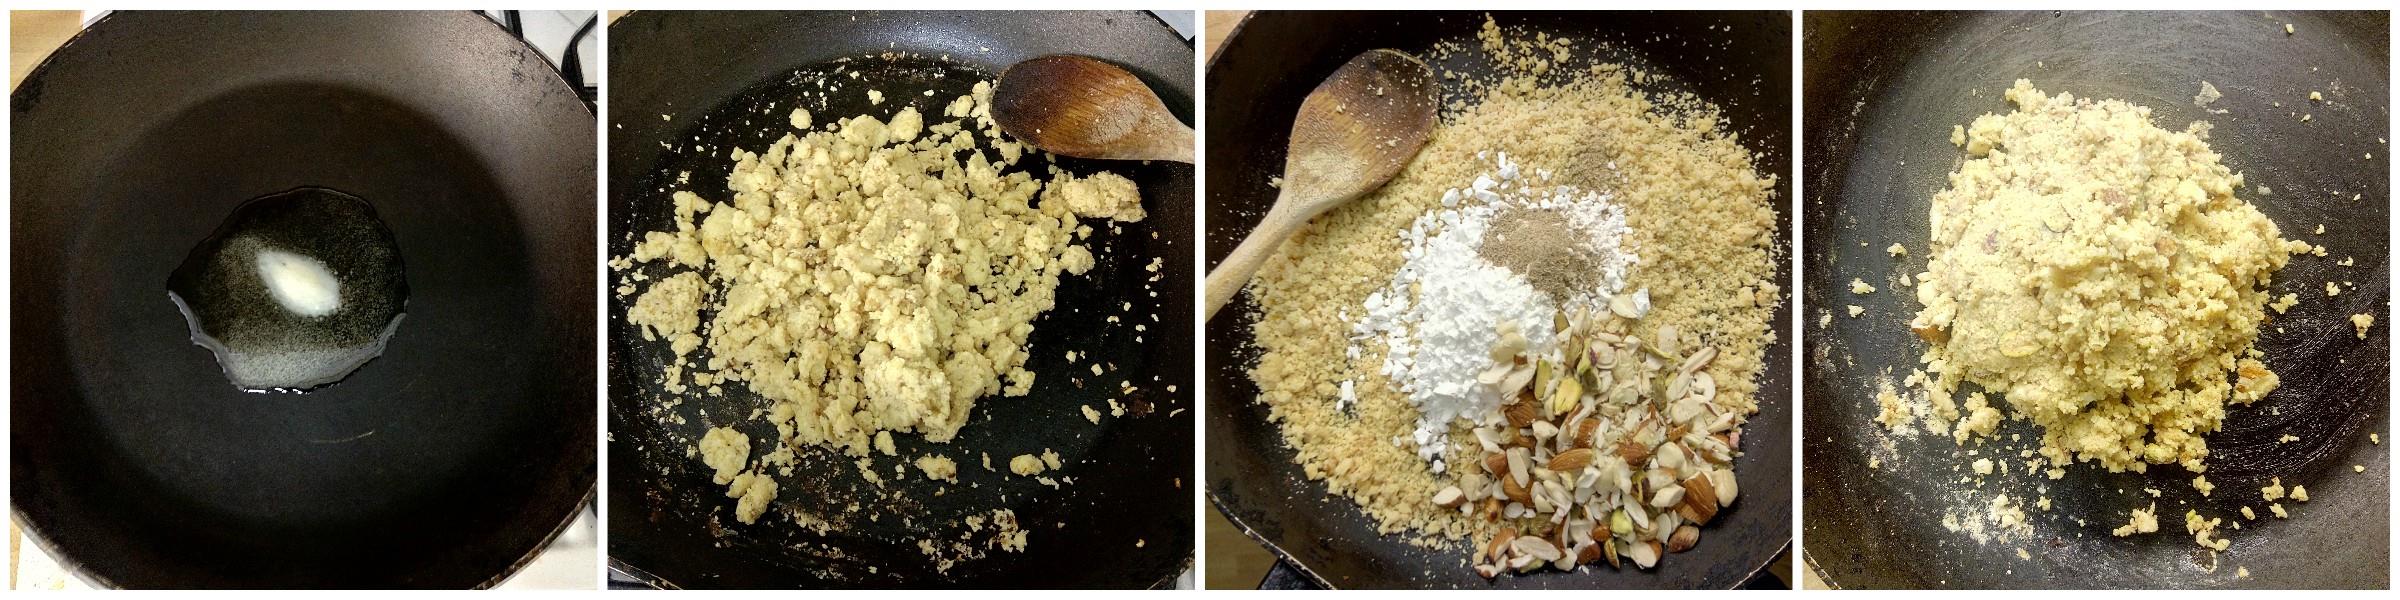
Step 2. Preparing the mawa filling
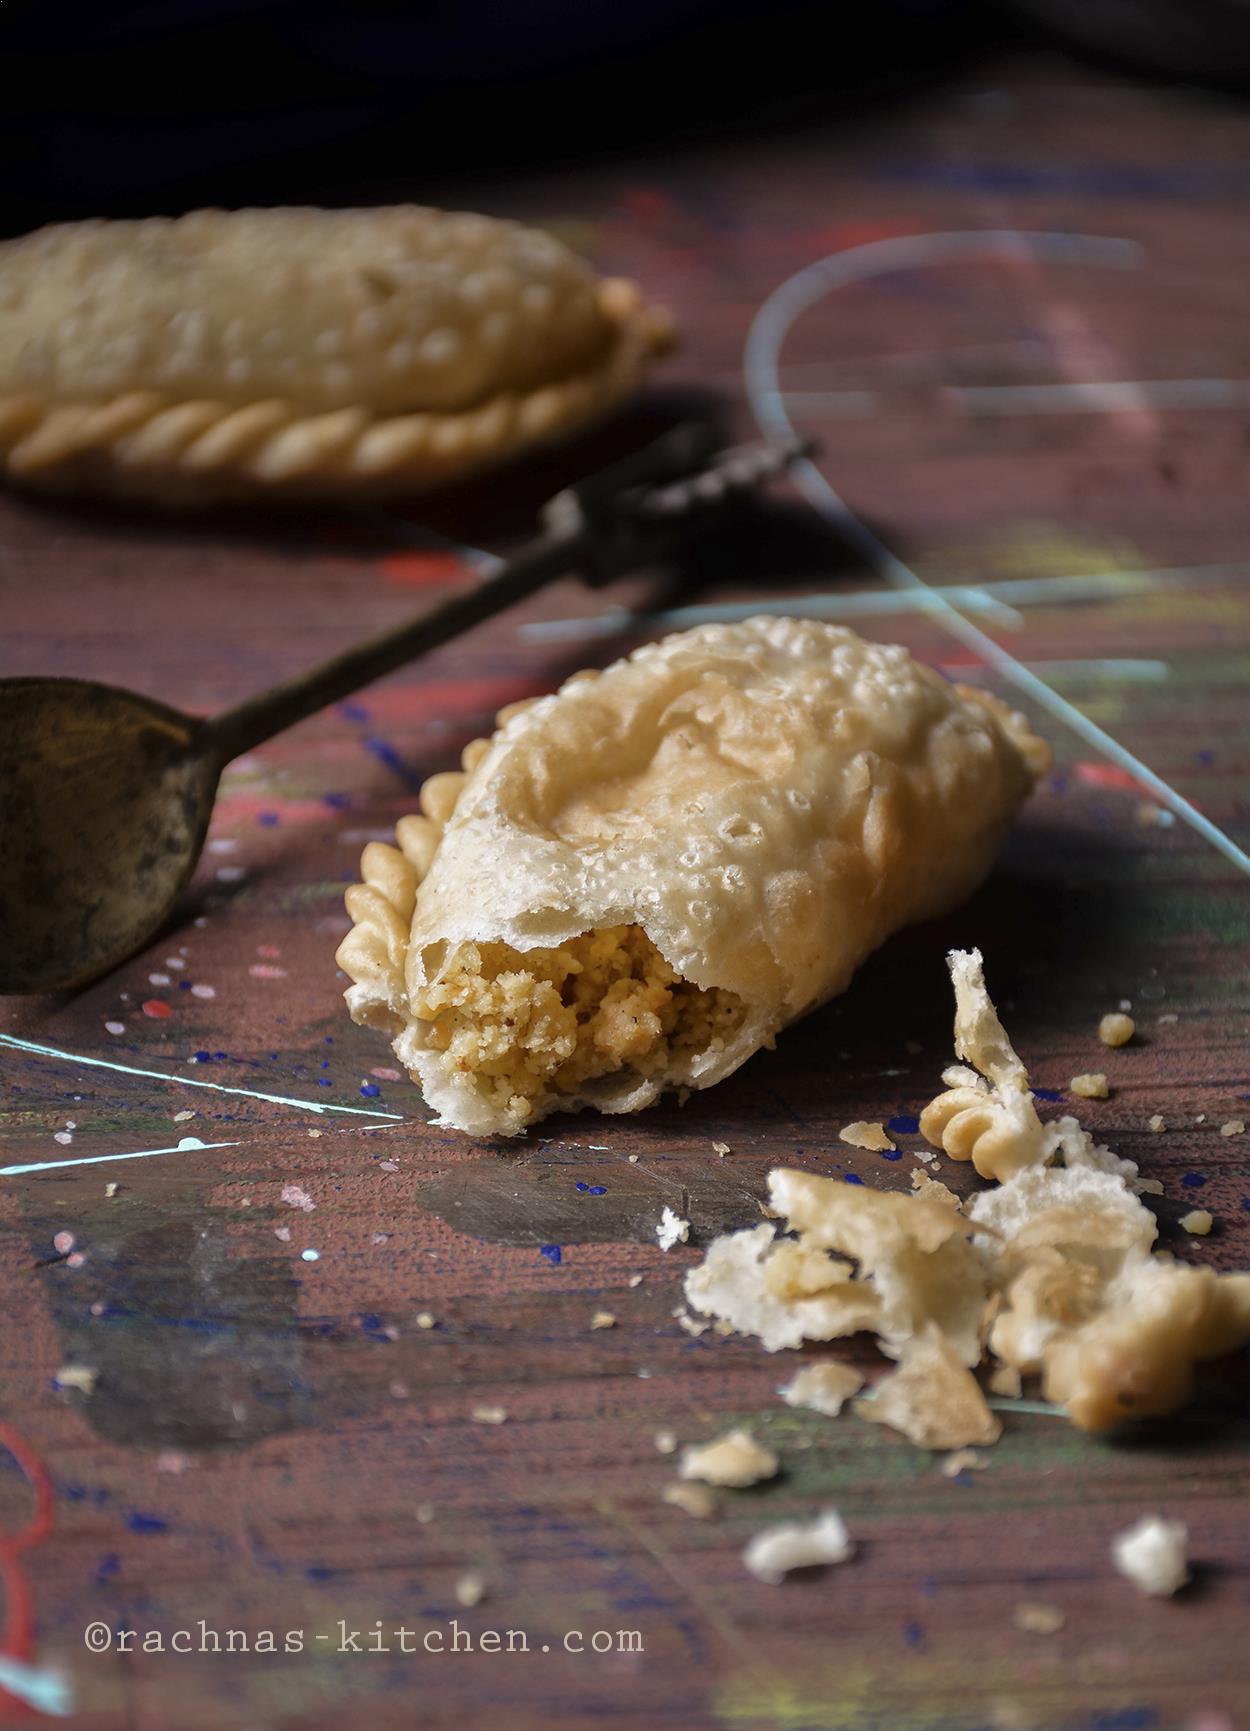
While the dough is resting let’s get the filling mixture ready. Crumble or grate khoya (mawa). Chop the dry fruits and keep aside. Heat ghee in a pan on low heat. Add the mawa or khoya. Stir the khoya continuously. Initially it will start melting and become reddish. Switch off the flame and let the khoya cool down completely. Add powdered sugar, chop dry fruits, nutmeg powder and cardamom powder. Mix it well using your fingertip to break all the lumps.
Here is a quick tip – When you are preparing stuffing, make sure that mawa is warm or cool completely. If it is hot, sugar will start to melt and stuffing will be runny. You will not able to stuff this filling.
Step 3. Preparing the gujiya
Knead the dough for 1 minute. Divide the dough into two parts. Shape each dough into a log and cut into equal pieces. Take each piece and roll into a smooth ball and flatten it between your palms. Take a ball, slightly dust with flour and using a rolling pin roll it into circular disc approximately 4 inch in diameter or a size depending on the size of your gujiya/karanji mould. Don’t worry about the shape. Dust karanji mould with flour and place rolled disc on top of it. 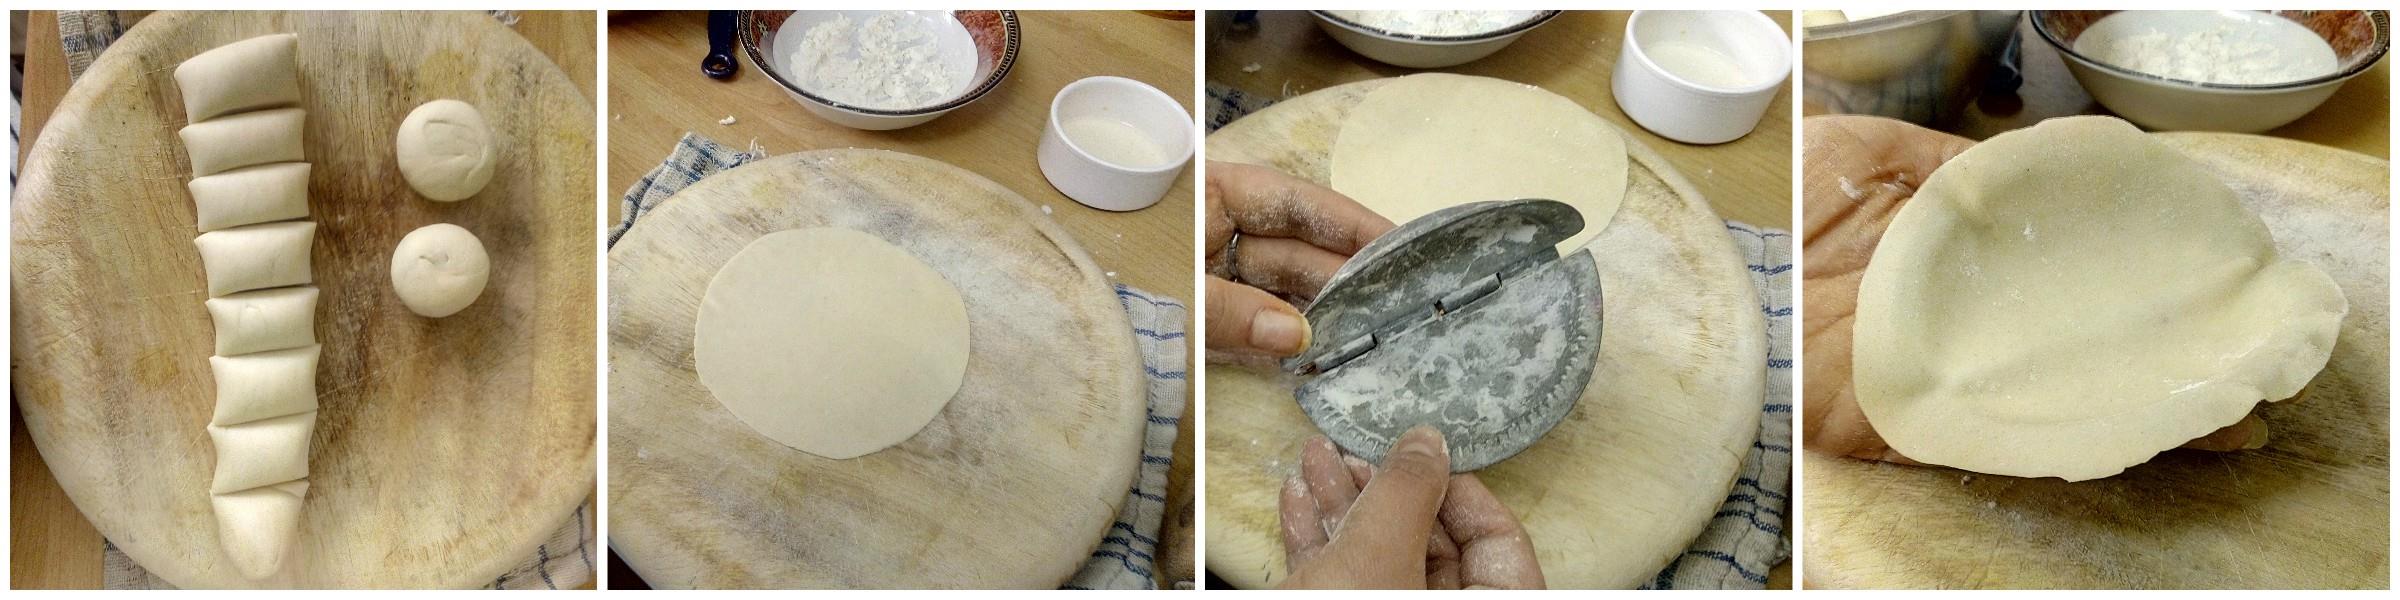
Using finger tip, apply a flour and water solution all over the circumference edge. Place 1 tablespoon of filling on one side of wing. Bring another wing together and close it. Press the edges of mould to seal gujiya well and remove excess dough portion from mould and save it with rest of dough.
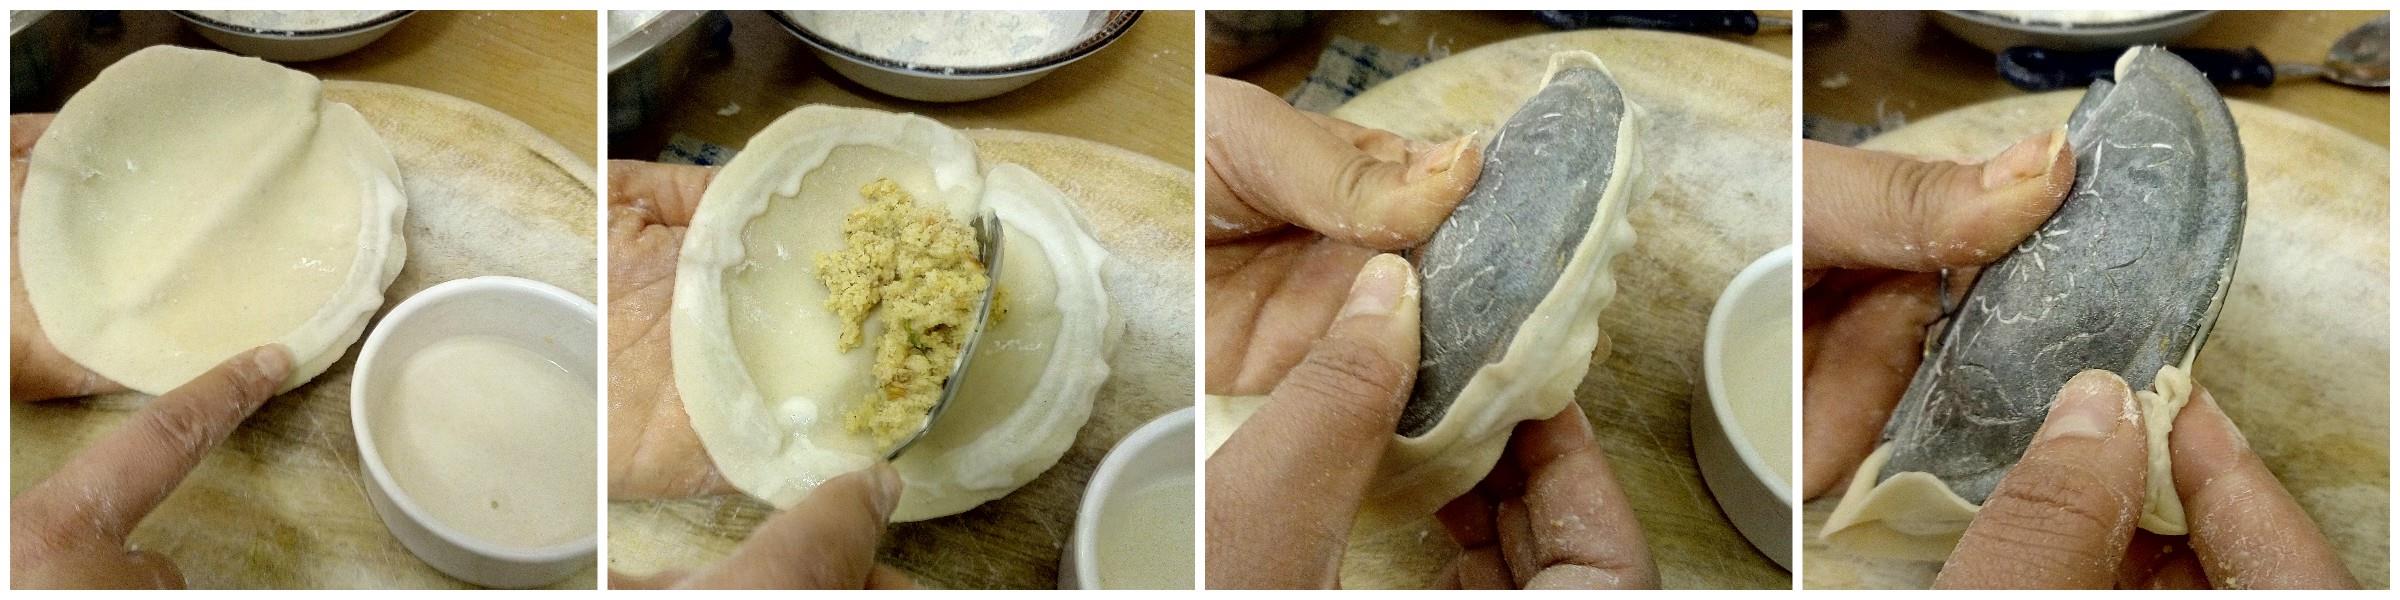
Gently open mould and take out gujiya. Repeat same for rest of dough and prepare all gujiya. 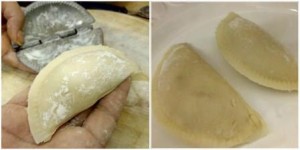
Question – How to seal gujiya properly ?
Answer – Sealing the gujia is an important step because if it gets open in oil while frying, all khoya stuffing will spread in oil. You will end up in great mess. My mother used to make a thin solution of flour and water. Apply it with a finger tip all over the edge of disc before stuffing. Here flour and water solution acts as gum. To make seal proof gujiya, use this flour and water solution. Few people also just use water which also works good.
Question– I do not have mould to prepare gujiya, what should I do ?
Answer-To shape gujiya I have shown three methods You can check the video to learn.
1. Gujiya using gujiya maker/ mould – This one is very easy you can see the step by step pictures below.
2. Gujiya shaping by pinching – This method is traditional and little bit difficult if you are making it for first time. However practice makes perfect. You can learn it by watching video.
3. Gujiya shaping with fork– This method is very simple and great alternative to the mould. In this shape the gujiya, cut the extra part by pizza cutter or knife. Press the edges with fork to seal. Watch video below.
Step 4. Frying the gujiya
Slide each gujhiya carefully and let them fry on medium to low flame range until they become golden in color. Don’t over crowd them. Flip them intermittently to get them evenly fried. Take them out in a tissue paper to drain excess oil. You can store them in an air tight container.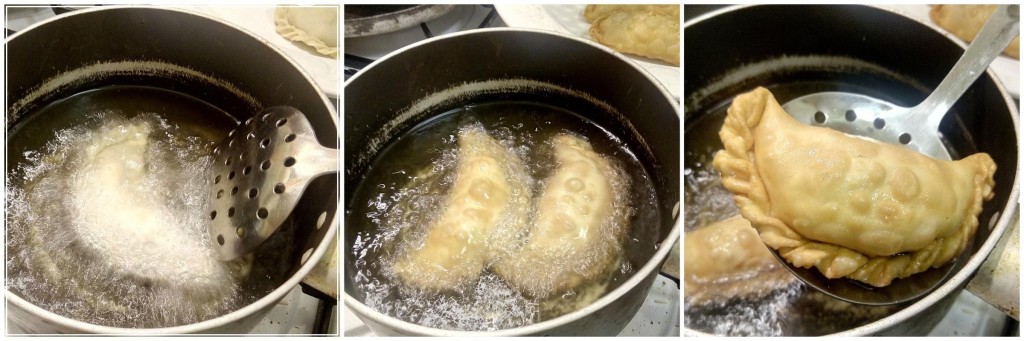 Question- How to check correct temperature of oil for frying ?
Answer- Before frying check the temperature of oil. Slide a pinch of the dough in the oil. If the dough sits at the bottom, the oil is still cold. If the ball comes up quickly on the surface, the oil is too hot. The correct stage is when you add dough ball and it’s comes up gradually on the surface, then the oil is ready.
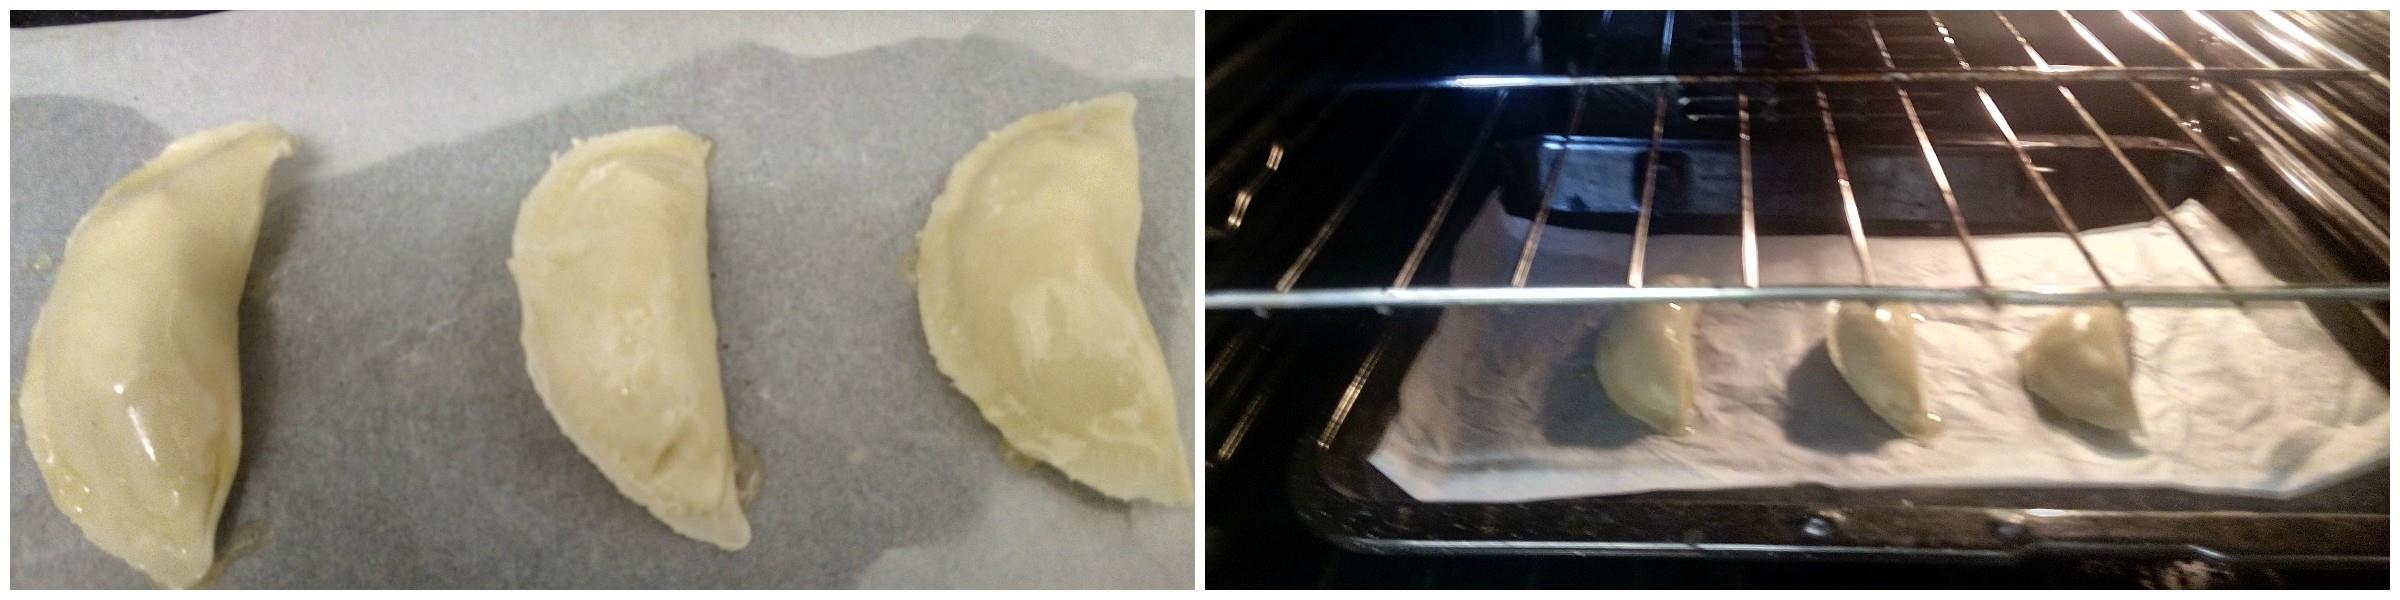
Baked gujiya recipe
Preheat oven to 200 degree centigrade. Grease the baking tray or line a butter paper in a baking tray. Prepare gujia by following the step 3 above , then line them in baking tray. Coat the gujia with ghee (clarified butter) and honey. Bake for 18-20 minutes till they are golden.
Here is the picture you can see how beautifully gujiya is baked. Love this version of gujiya recipe.
Do try this gujiya recipe this holi and share love.
Recipe card – Gujiya recipe
- 1 Cup All purpose flour / Maida
- 1 ½ Tablespoon Clarified butter /Ghee
- A pinch of salt
- 1/3 Cup Water
- ½ Cup Khoya/Mawa
- ½ Cup Powdered sugar or
- boora
- 2 Tablespoon chopped dry fruits
- ½ Teaspoon Cardamom powder
- A pinch of nutmeg powder
- 4 Cups Ghee or oil
-
In a large mixing bowl, add flour and salt. Heat the ghee in a small pan and pour in the flour. This process is also called adding moyen. Mix ghee well with flour. It will become like bread crumb texture. Add water and knead the dough. Dough should be stiff. It took me 1/3 cup of water. When dough is kneaded, leave it on counter for at least 15 minutes to rest.
-
While the dough is resting let's get the filling mixture ready. Crumble or grate khoya (mawa). Chop the dry fruits and keep aside. Heat ghee in a pan on low heat. Add the mawa or khoya. Stir the khoya continuously. Initially it will start melting and become reddish. Switch off the flame and let the khoya cool down completely. Add powdered sugar, chop dry fruits, nutmeg powder and cardamom powder. Mix it well using your fingertip to break all the lumps.
-
Knead the dough for 1 minute. Divide the dough into two parts. Shape each dough into a log and cut into equal pieces. Take each piece and roll into a smooth ball and flatten it between your palms. Take a ball, slightly dust with flour and using a rolling pin roll it into circular disc approximately 4 inch in diameter or a size depending on the size of your gujiya/karanji mould. Don't worry about the shape. Dust karanji mould with flour and place rolled disc on top of it.
-
Using finger tip, apply a flour and water solution all over the circumference edge. Place 1 tablespoon of filling on one side of wing. Bring another wing together and close it. Press the edges of mould to seal gujiya well and remove excess dough portion from mould and save it with rest of dough.
-
Gently open mould and take out gujiya. Repeat same for rest of dough and prepare all gujiya.
-
Slide each gujhiya carefully and let them fry on medium to low flame range until they become golden in color. Don't over crowd them. Flip them intermittently to get them evenly fried. Take them out in a tissue paper to drain excess oil. You can store them in an air tight container.
-
Preheat oven to 200 degree centigrade. Grease the baking tray or line a butter paper in a baking tray. Prepare gujia by following the step 3 above , then line them in baking tray. Coat the gujia with ghee (clarified butter) and honey. Bake for 18-20 minutes till they are golden.
marudhuskitchen says
lovely clicks…super awesome snack
rachnaskitchen says
Thankyou Vaani !!
Sundari says
Whoa!! What an elaborate post!! Love it! Awesome clicks too 🙂
rachnaskitchen says
Thanks Sundari for liking it !!
Deepa Suresh says
Lovely recipe. Love your photography.
turkuvaz pencerem says
yummy! seems so delicious 🙂
bhavana says
Lovely recipe’s
bhavana says
Please recipe written in Hindi language & simple easy method use
rachnaskitchen says
Thanks for feedback. I wish I could write recipes in both English and Hindi languages and maintain the website :-), I write the method which I use to make the recipe and try to write them in as easy language as I can. For Hindi recipes, I think you can try Nisha Madhulika or Sanjeev Kapoor’s websites, they have recipes in hindi as well and both of them are well known and great chef.
Anamika Mishra says
Wow this very easy method to make gujiya thanks
DHARAMBIR CHAUDHARY says
wowwwww,! very easy method of making gujiya! thanks for sharing recipe! i love gujiya………
rachnaskitchen says
Thank you
Pallavi says
What to do if stuffing material is powdered like ??
Deeksha says
very nice recepie which you provide … i used it and its very helpful to me