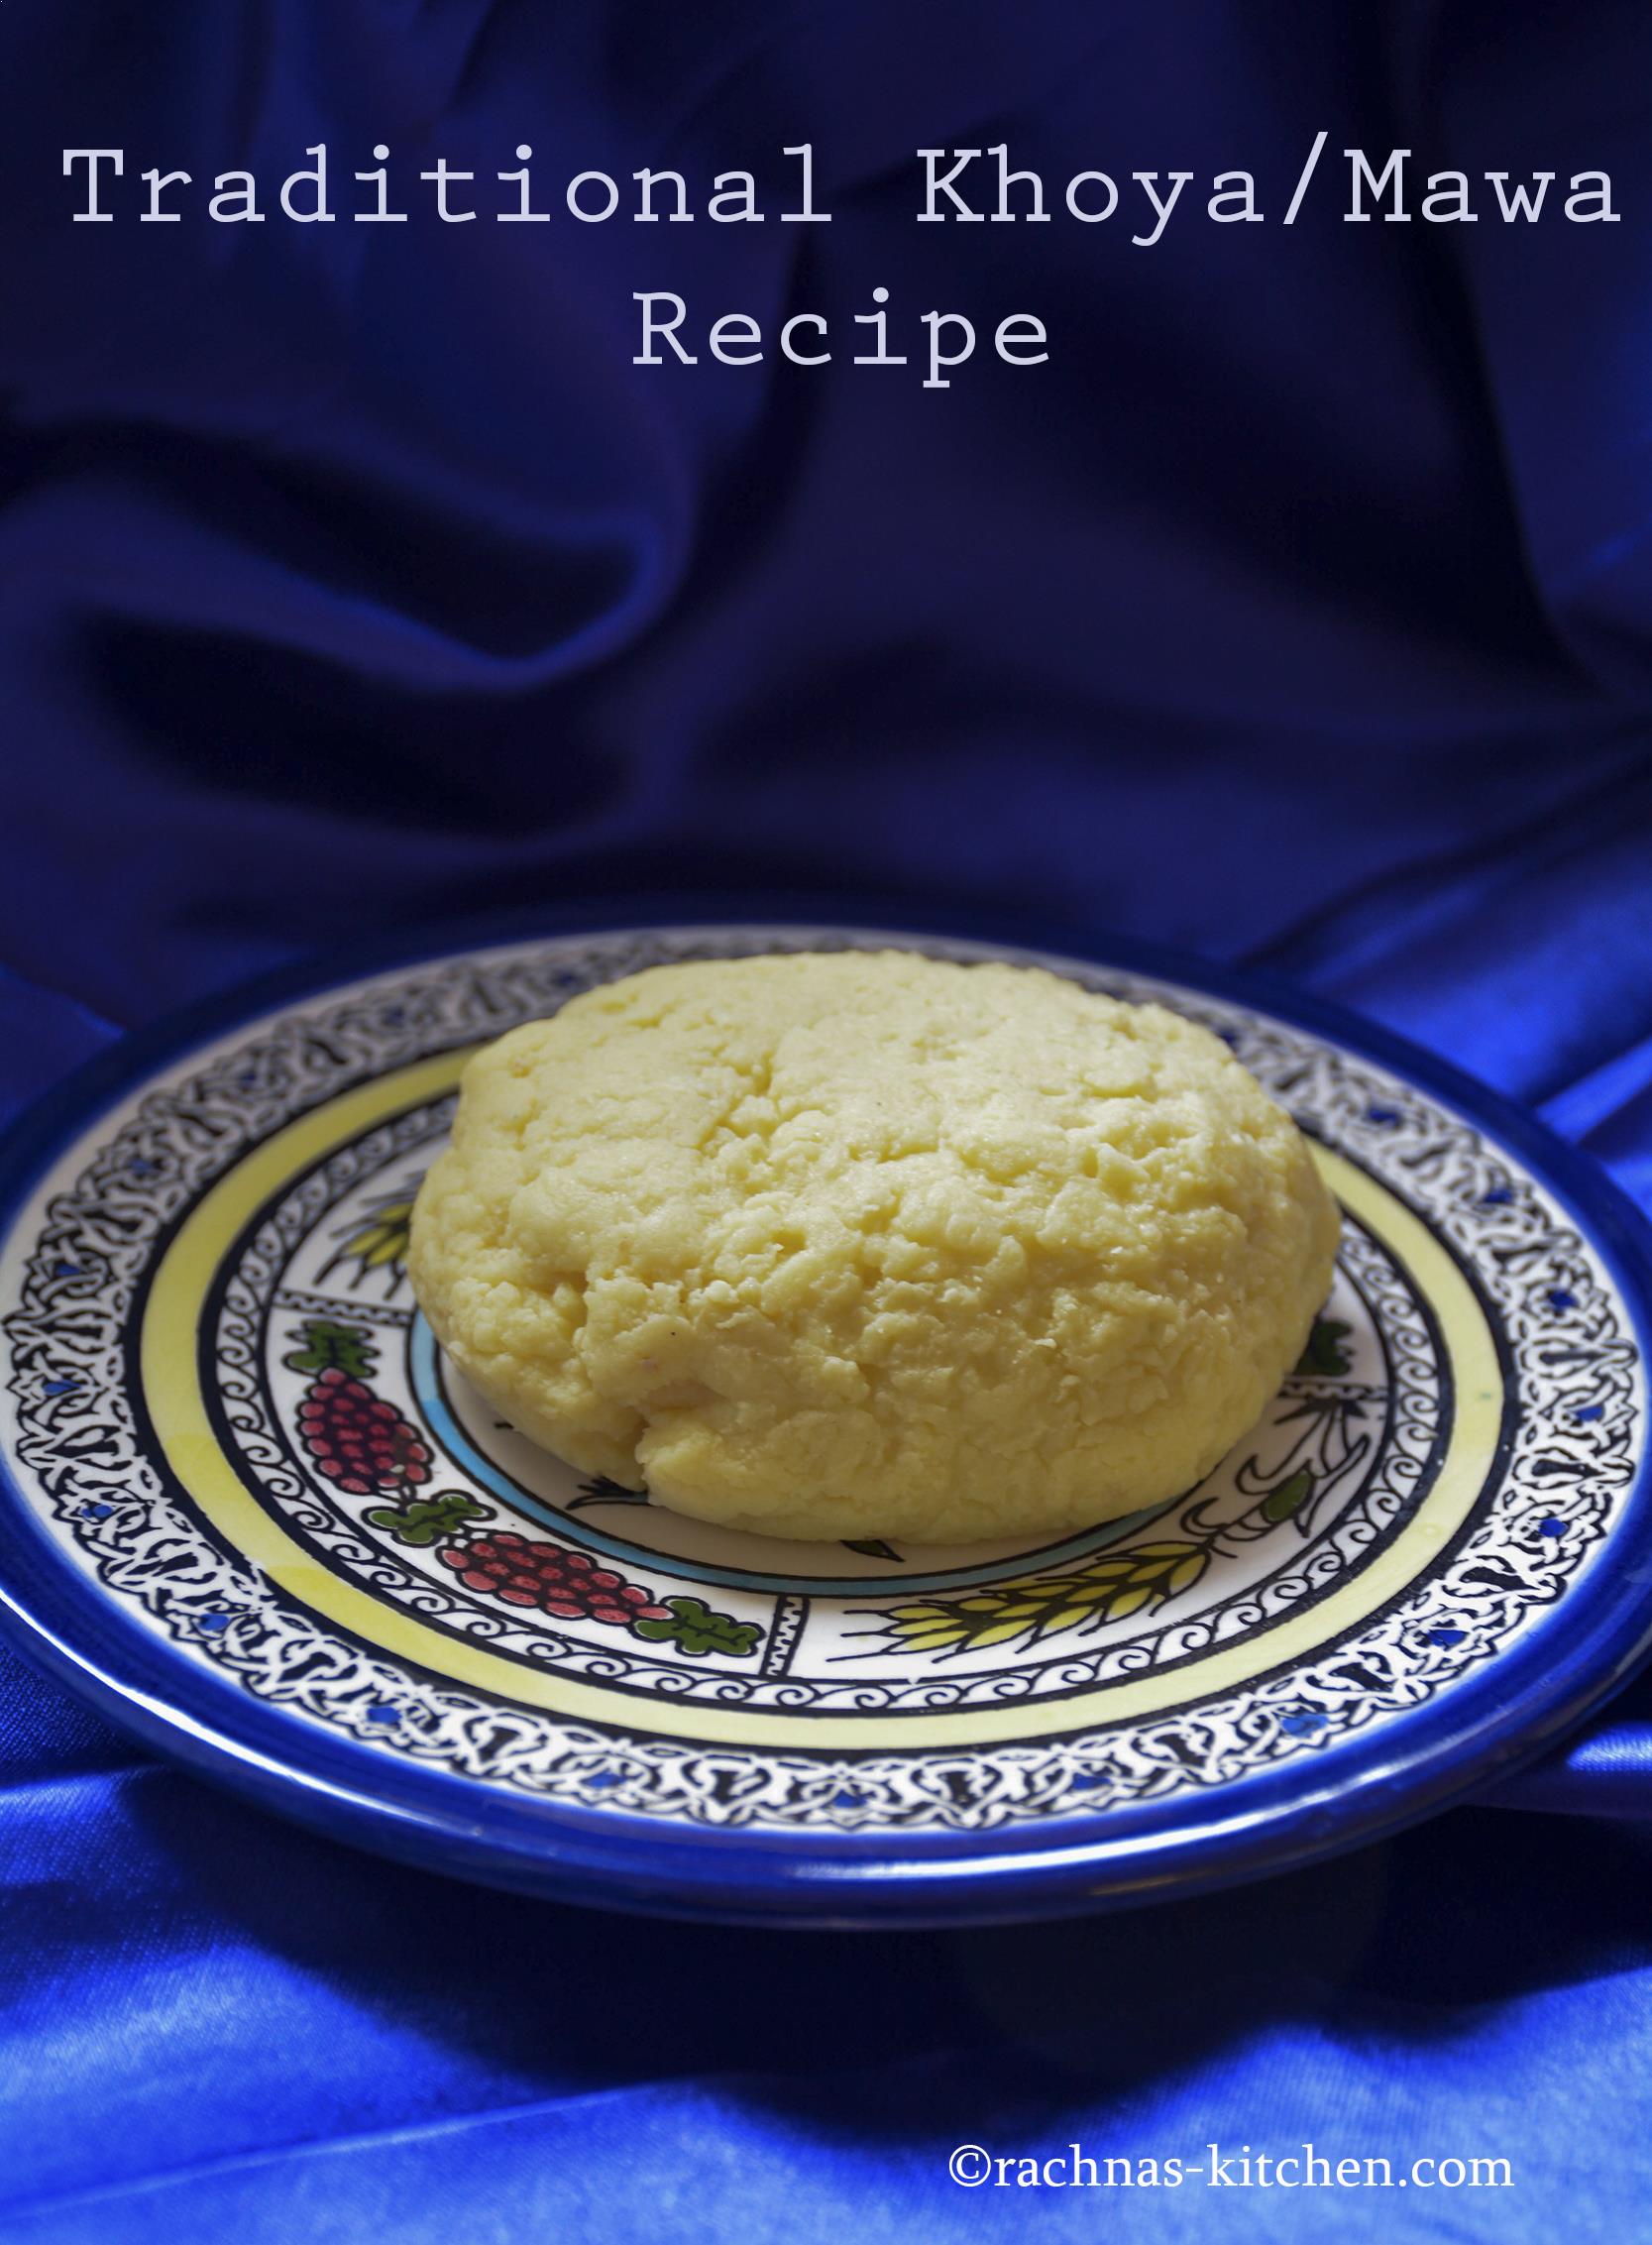
Khoya recipe
You must have stumbled term ‘Khoya’ or ‘Mawa’ in many Indian dessert recipes. It is a super ingredient which is basically dried evaporated milk, prepared by reducing the milk by evaporating its moisture on low flame. It is creamy and velvety. It is very easily available in market in India but finding mawa outside India is hard.
There are different type of khoya based on the use of ingredients and moisture content.
Hard Khoya
This khoya is also known as Batti Khoya. It is dense in consistency and usually sold in moulded form. It is used primarily for burfi sweet recipes and laddoo recipes.
Smooth Khoya
This variety is also known as Chikna Khoya, it is made out of low fat milk, it is loose and sticky in consistency and has a higher moisture content. It is very commonly used for making gulab jamuns, rabri and halwas.
Granulated Khoya
This khoya is also known as Danedar khoya. Its consistency fall between the above two types of khoya and it is granulated. It has a moderate moisture content. While simmering, the milk is coagulated with citric acid while preparing it. It is generally used to make recipes like Kalakand and certain types of ladoo.
In this recipe, I have posted two methods of making mawa at home. One is the traditional one with full fat whole milk and other is a quicky with milk powder. The second method of khoya recipe with milk powder is quicker than traditional method but not too quick. It takes around 30 minutes. I have shown the comparision between the two recipe in the end of this post.
1st Method:
Coming to the traditional homemade khoya recipe
Ingredients
Whole milk- 1.5 litre for preparing approx. 300 grams khoya
Let’s prepare Traditional Homemade Khoya Recipe Or Mawa Step By Step
Step 1. Place a heavy base pot on high to medium flame range and pour 1 tablespoon of water in it. Then pour milk before water gets burnt and pan bottom becomes dry.
Question– Why to add water ?
Answer– Adding water to the pan before adding milk forms a kind of protective layer between milk and pan. It prevent milk from burning and sticking to the pan.
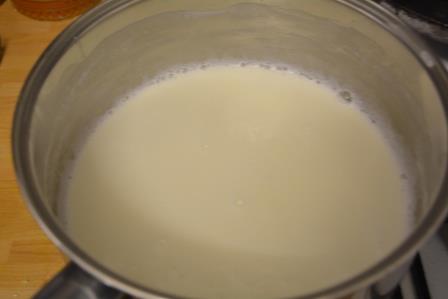
Step 2. Bring the milk to a boil. When it starts to boil, reduce flame in medium to low range. Scrap the sides and stir occasionally in between to prevent milk from sticking to the bottom.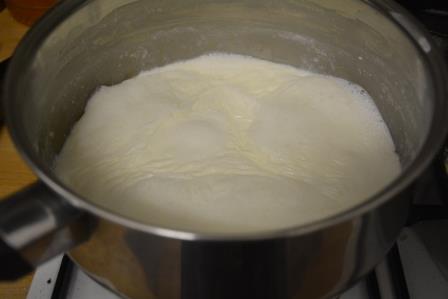
Step3. Keep stirring and keep scraping the bottom and sides of the pan. 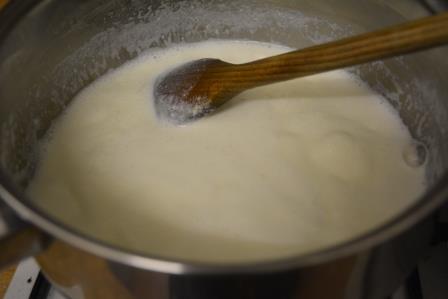
Step 4. After 45 minutes, milk will reduce to almost half in quantity and will turn thicker. As it starts to thicken, the color would change from milky white to light yellow as you can see in picture below. 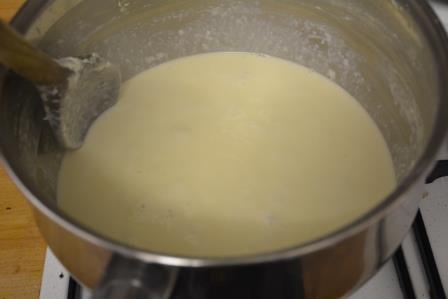
Step 5. This is the stage you get just after approx. 55 minutes from the starting. As milk thickens, the chances of it sticking to the bottom of the pan increases. Stir frequently to prevent sticking. Milk is turning to grainy texture.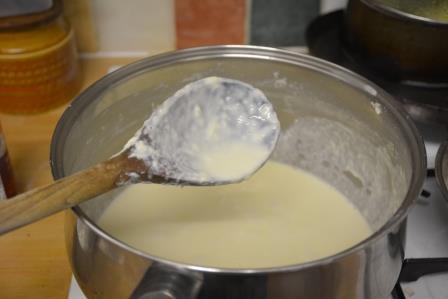
Step 6. After 1 hour 10 minutes milk has reduced a lot. Keep stirring continuously at this stage because thickened milk has more tendency to stick at bottom. Turn the flame to low and keep simmering till it’s consistency turns to solid form. 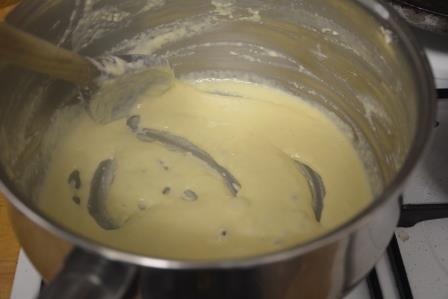
Step 7. Now after 7 minutes of cooking reduced milk at step6, it has turned into solid milk granules. Now, when you stir, the content stir together firmly into a single mass. Turn off the flame and remove it in a bowl. Keep it aside and cover it with kitchen cloth. Let it cool to room temperature. As it cools down, mawa will turn thick. Once it cools completely, you can store it in refrigerator and stays good for 4-5 days. You can also freeze it for 1 month.

You can use this home made khoya in these desserts and curries.
Khoya Matar Paneer Recipe
Gajar Halwa Recipe
Kalakand Recipe In Microwave| Indian Milk Cake
Malai Peda Recipe
2nd Method:
Quick Unsweetened Mawa recipe in 30 minutes
Ingredients
Thickened milk – 1 cup
Milk powder – 3/4 cup
It will produce approx. 110 grams khoya or mawa
Instructions
Step 1. Follow the step 1, step 2 and step 3 from 1st method for around 20 minutes till milk turns thick.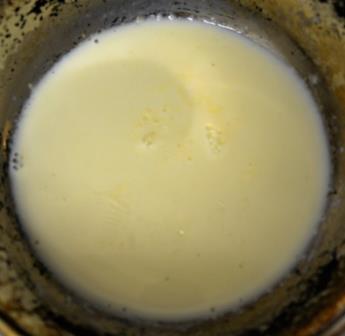
Step 2 . Add milk powder and mix it thoroughly on low flame. Simmer for 6-7 minutes by stirring and scraping continuously. It will turn into semi solid mass.
Turn off the flame.
We need not to over cook it because this mawa will be more firm than the traditional khoya recipe.
Let it cool, then refrigerate. It stays good for 2-3 days. 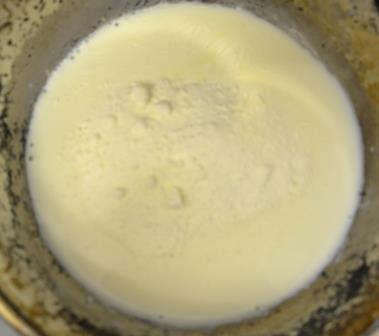
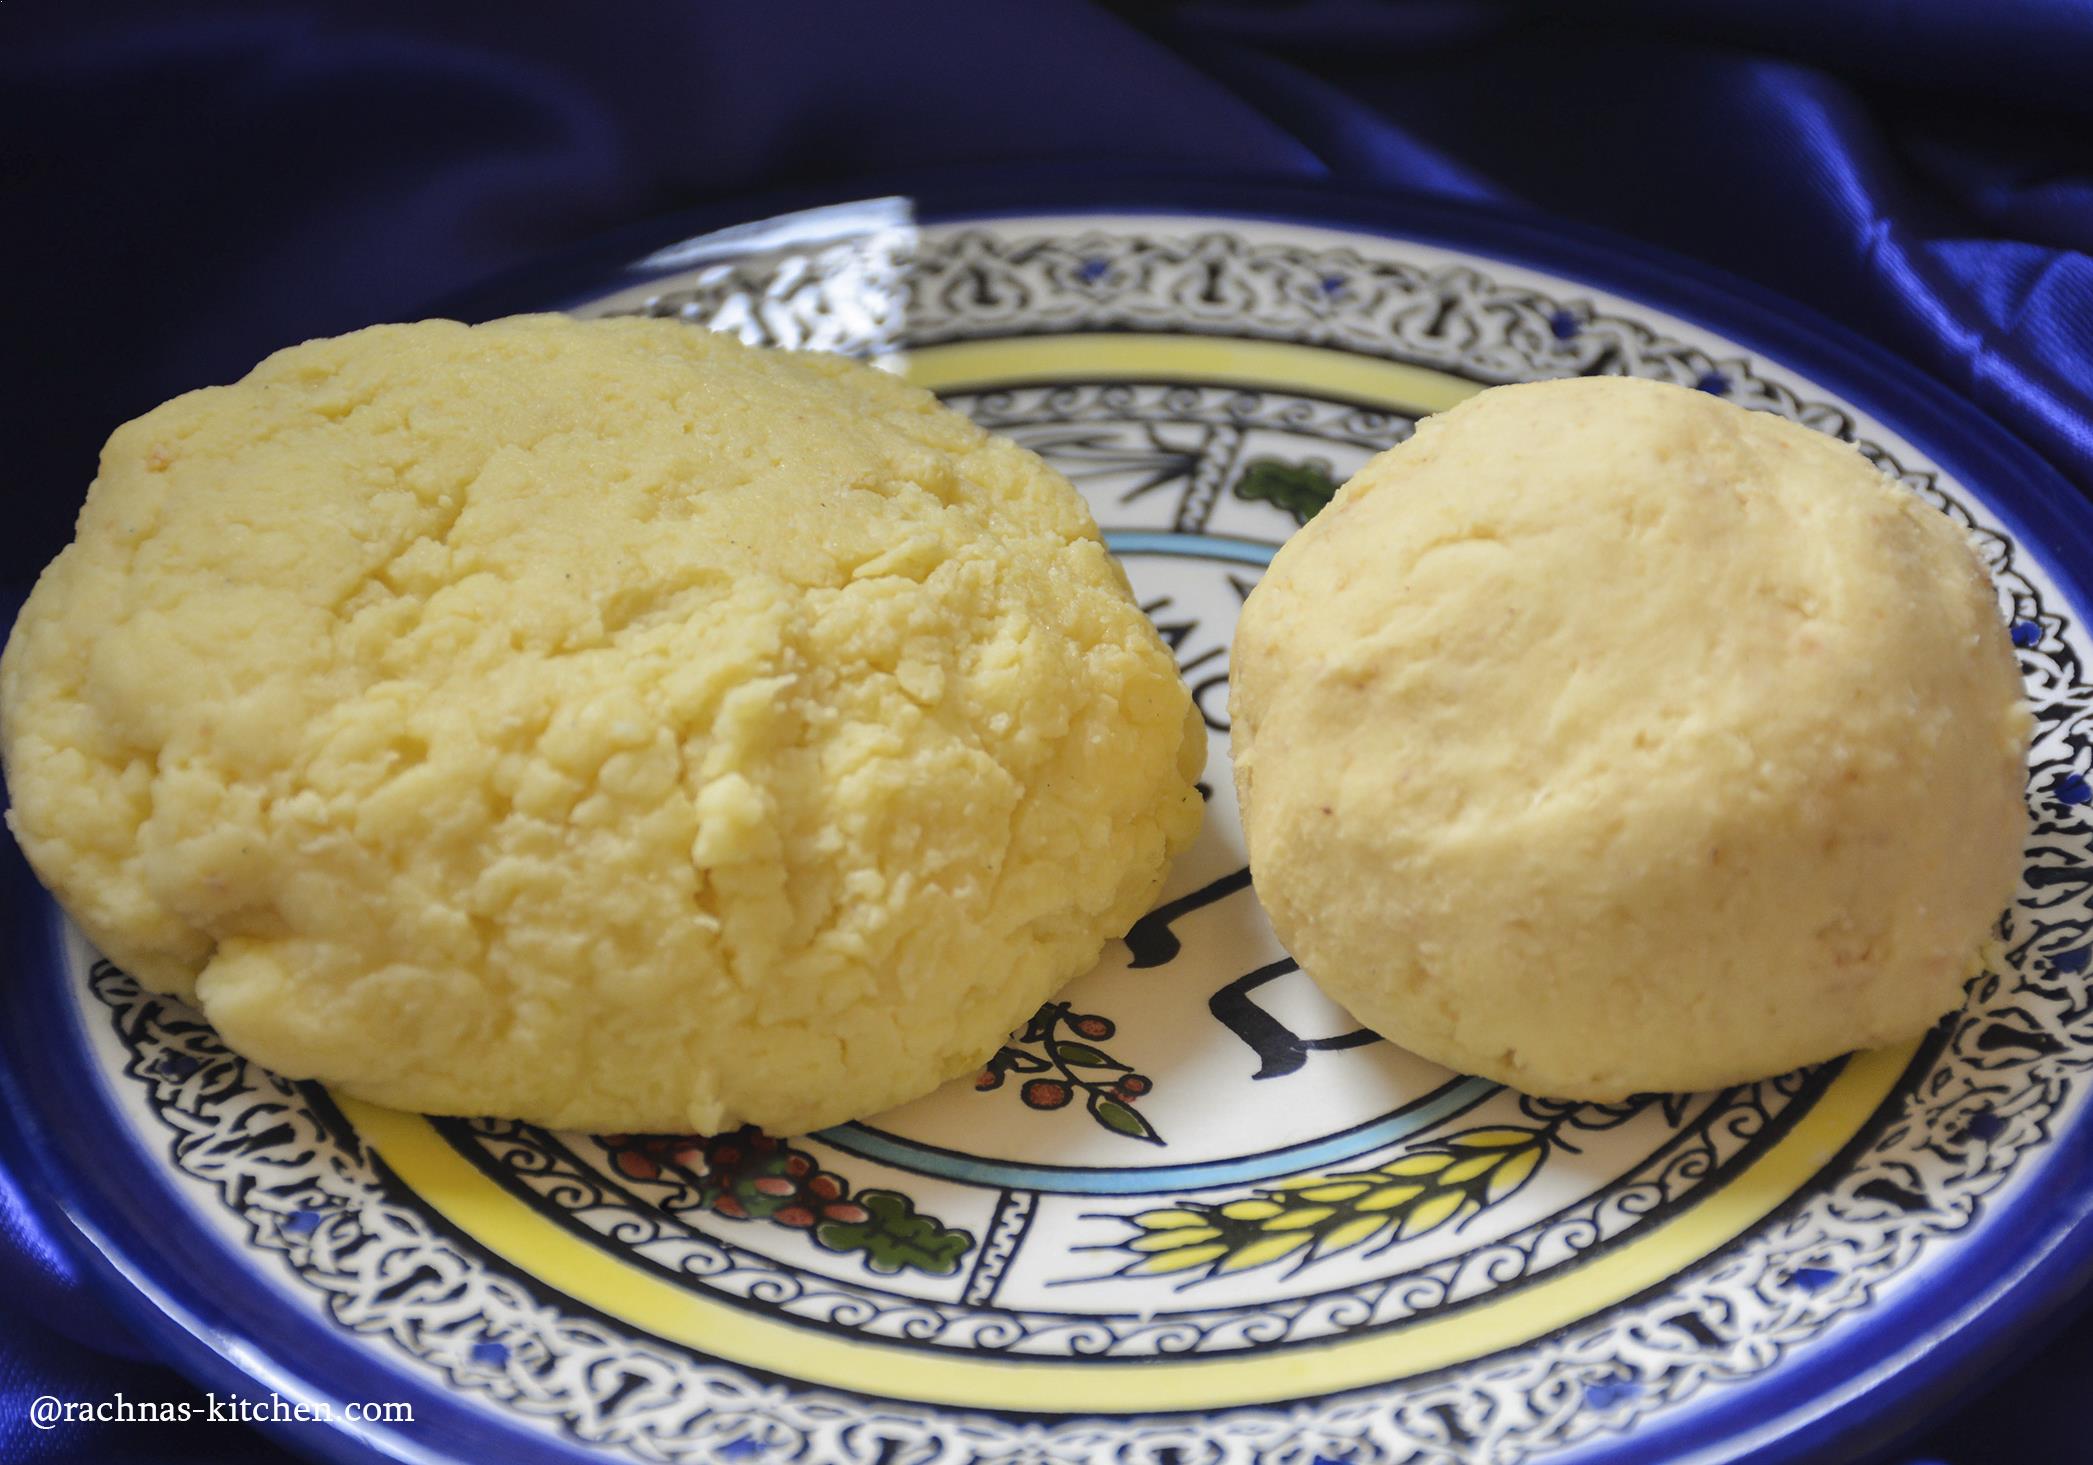
Comparison:
Here is the picture the left one is the mawa from traditional method and the one at right one is khoya with milk powder . Traditional khoya is yellowish in colour whereas khoya with milk powder is on whiter side.
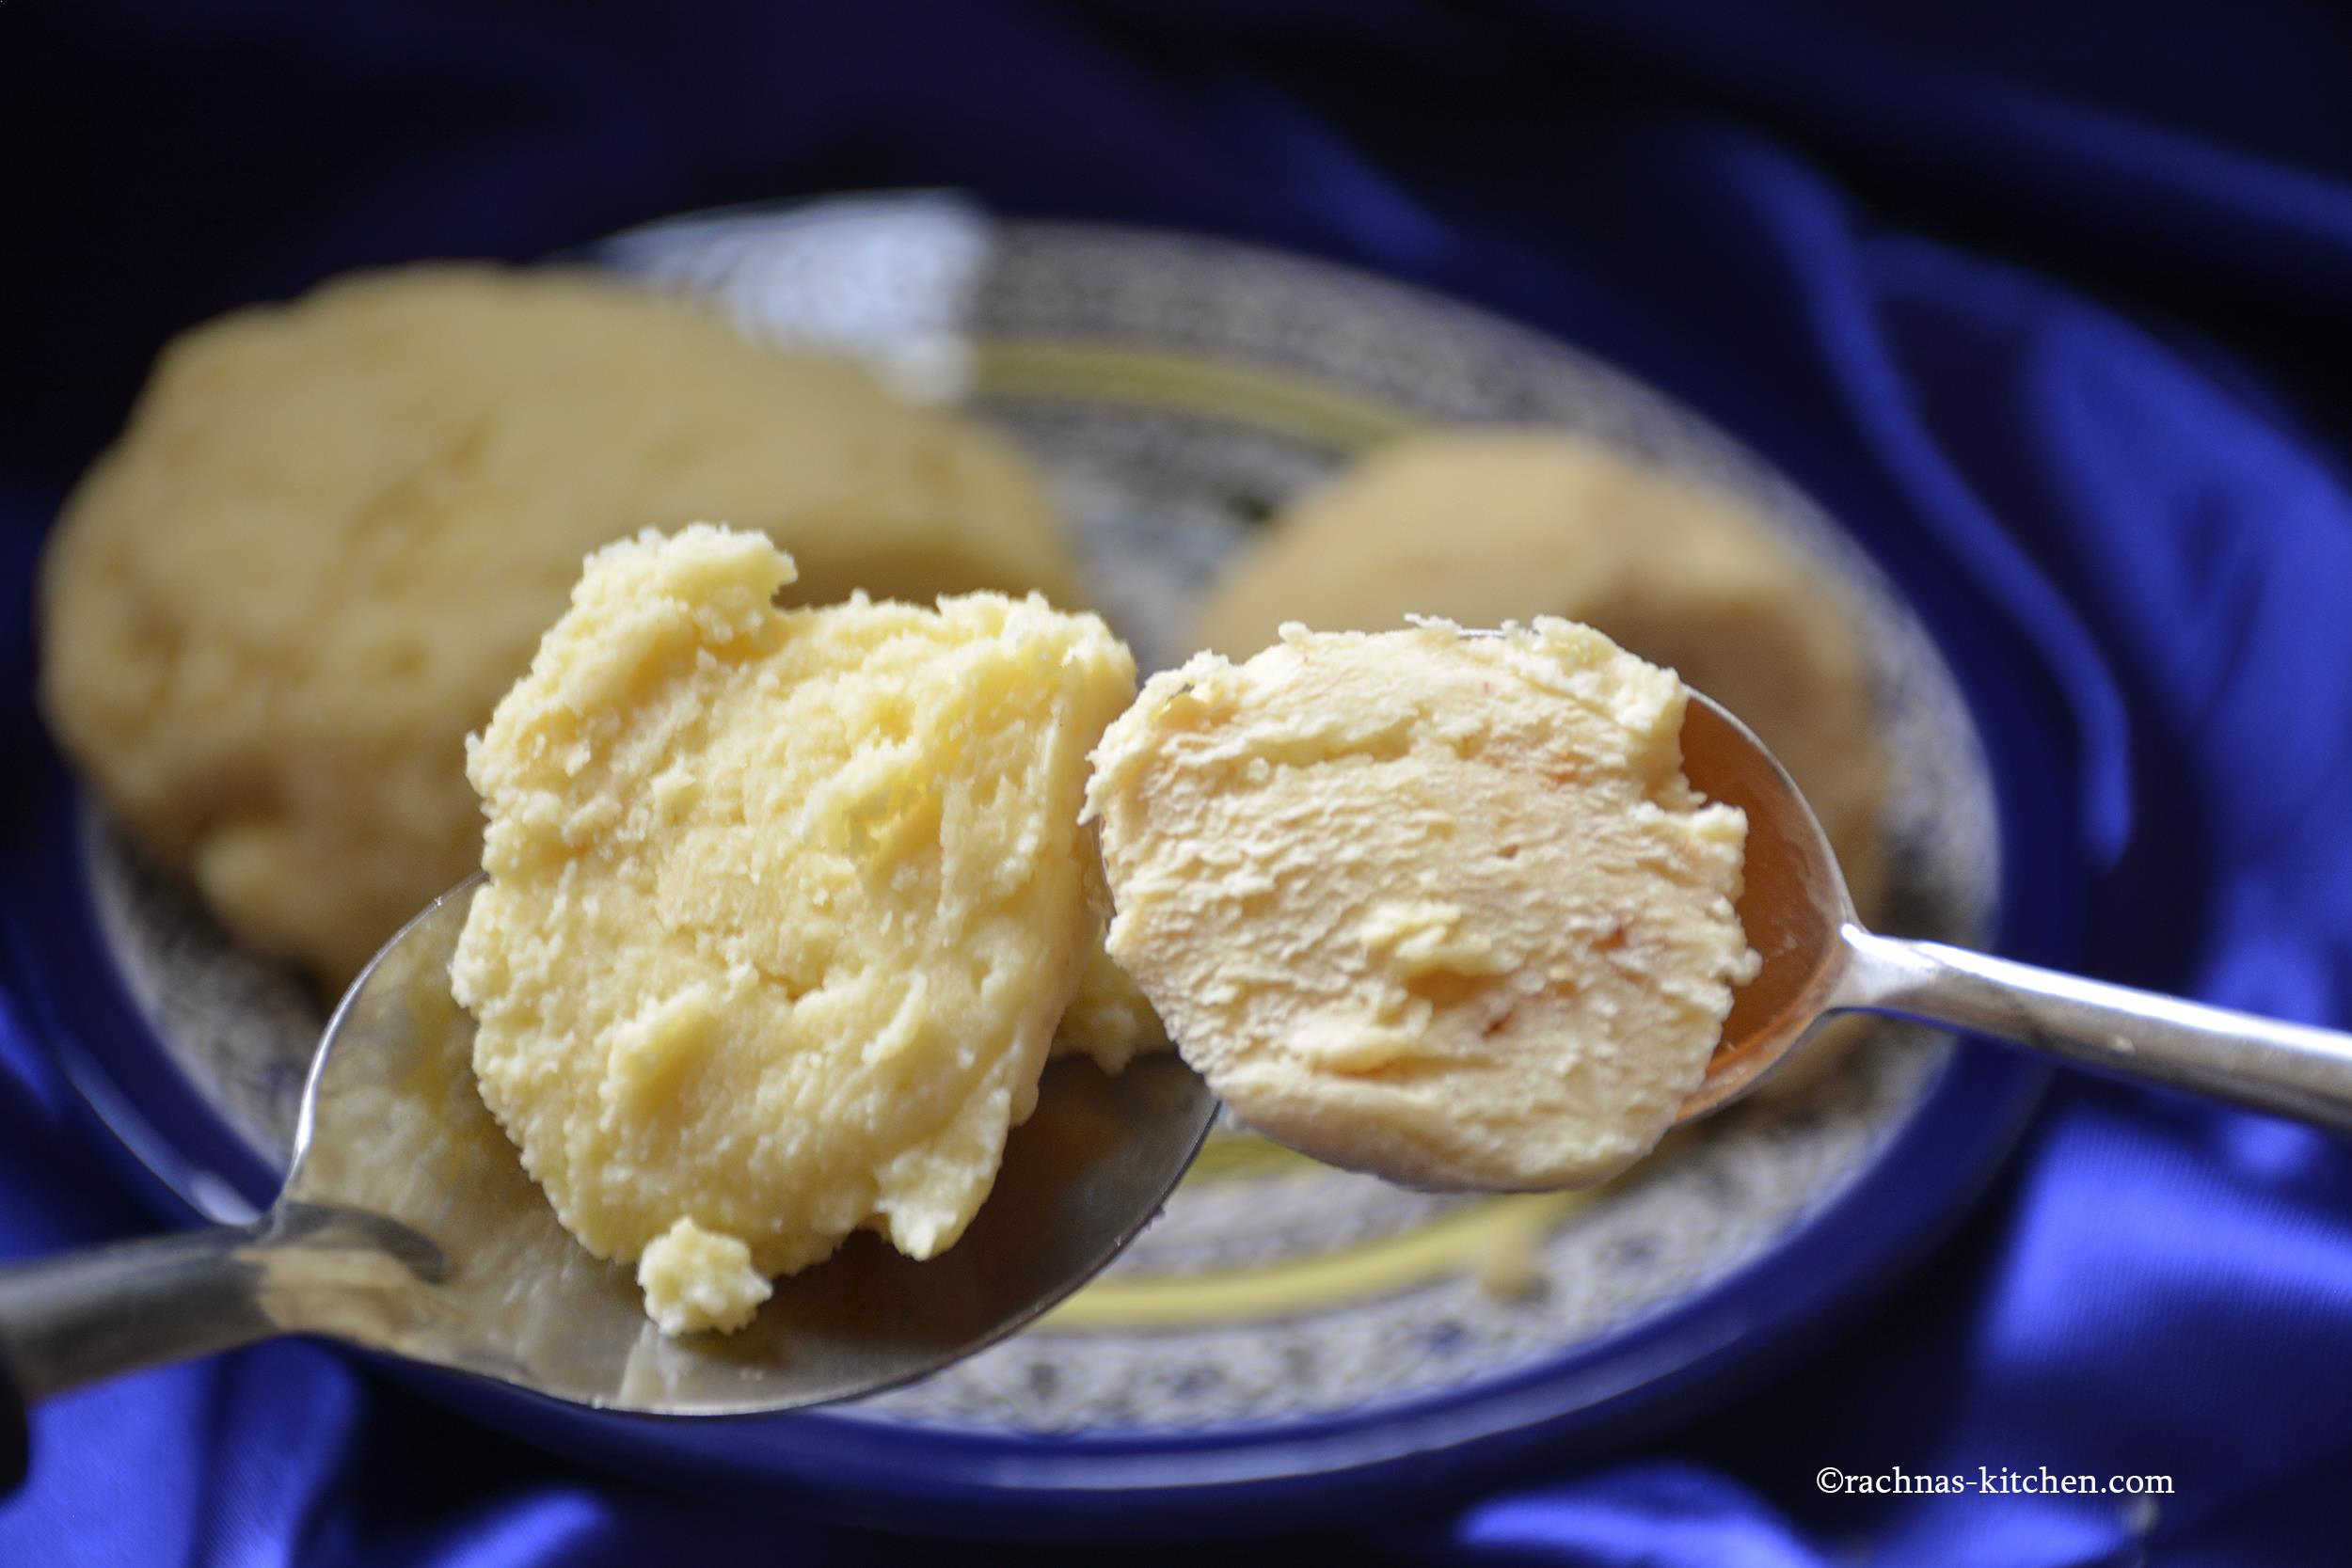
Check the texture of both types of mawa. They are almost same in taste. The texture of both is also nearly same however the khoya with milk powder seems little more dense. If you have enough time for cooking then you go for traditional style mawa recipe but If you are in hurry then go for the mawa with milk powder recipe. I also have recipe of instant khoya under 5 minutes for you if you need something even more quicker.
 Do try these Home made mawa recipes, you will not regret !!
If you like it please share !!
Recipe card – Khoya
- Whole milk- 1.5 litre/ 7.5 US Cup
-
Place a heavy base pot on high to medium flame range and pour 1 tablespoon of water in it.
-
Bring the milk to a boil.
-
When it starts to boil, reduce flame in medium to low range. Scrap the sides and stir occasionally in between to prevent milk from sticking to the bottom.
-
Keep stirring and keep scraping the bottom and sides of the pan.
-
After 45 minutes, milk will reduce to almost half in quantity and will turn thicker. As it starts to thicken, the color would change from milky white to light yellow as you can see in picture below.
-
The chances of it sticking to the bottom of the pan increases. Stir frequently to prevent sticking. Milk is turning to grainy texture.
-
After 1 hour 10 minutes milk has reduced a lot. Keep stirring continuously at this stage because thickened milk has more tendency to stick at bottom. Turn the flame to low and keep simmering till it's consistency turns to solid form.
-
Now after 7 minutes of cooking reduced milk at step6, it has turned into solid milk granules. Now, when you stir, the content stir together firmly into a single mass. Turn off the flame and remove it in a bowl. Keep it aside and cover it with kitchen cloth. Let it cool to room temperature. As it cools down, mawa will turn thick. Once it cools completely, you can store it in refrigerator and stays good for 4-5 days. You can also freeze it for 1 month.
-
You can use this home made khoya in these desserts and curries.
Leave a Reply