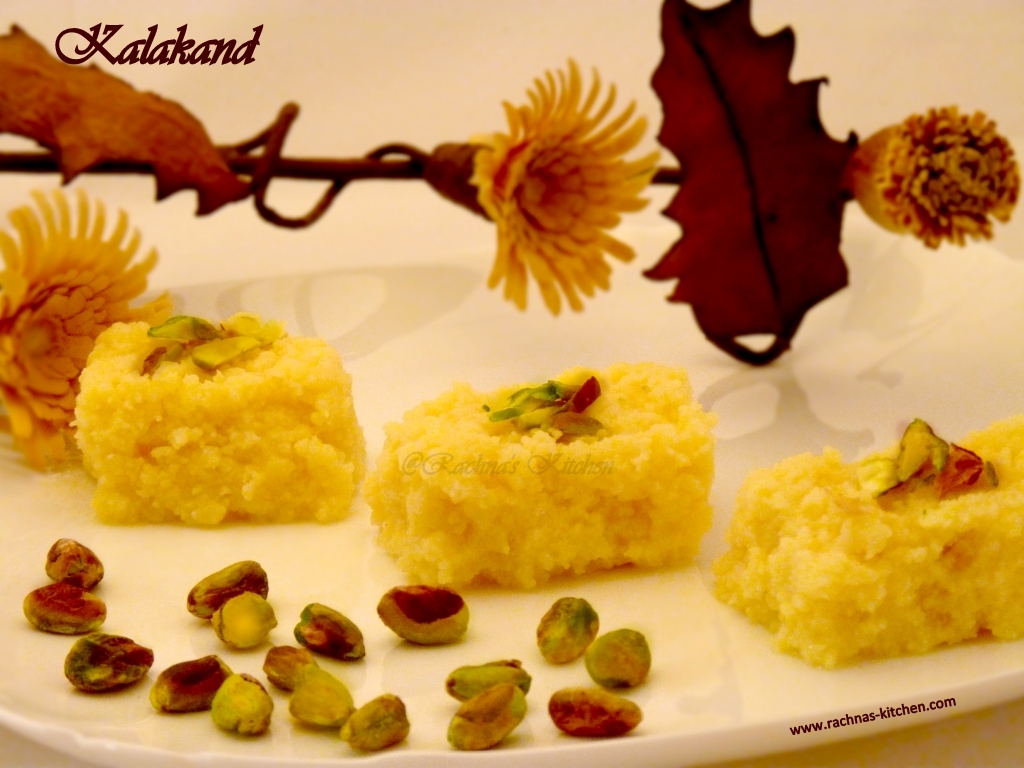
Kalakand with ricotta cheese
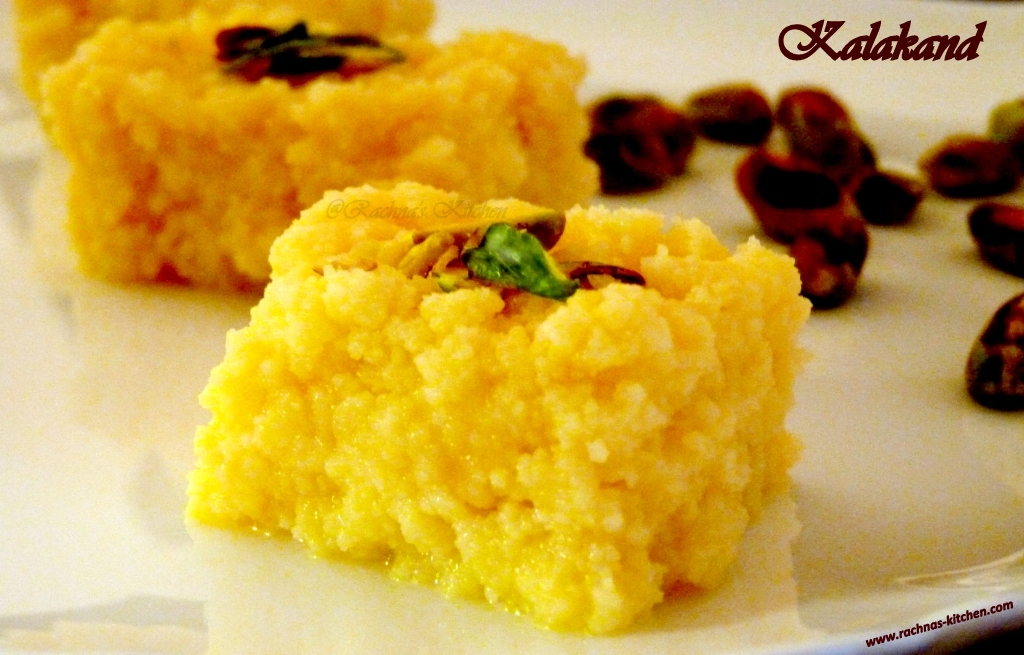
Kalakand (milk burfi) is an Indian milk fudge also known as Indian milk cakes. This sweet is soft, tempting, healthy, tasty and one of my favorite dessert. There are many ways to make it but this time I wanted to choose the quickest way to make it. I was googling for some ideas and stumbled upon this kalakand recipe from blog thelady8home which was made in microwave. After reading the recipe I decided to try it and it turned out very good kalakand. If you are looking for a hassle free and shortcut version of Kalakand, this microwave recipe is perfect. This recipe was made using condensed milk which reduces its cooking time and also adds a nice creaminess to it.
Let’s go through the recipe with exact steps as explained in the blog where I read it.
rep time: 2 mins | Cooking time: 20 mins |
Type: Dessert | Serves: 4
Ingredients
425 grams / 1 tub of Ricotta cheese
340 grams / 1 can of Condensed milk
1/2 teaspoon Cardamom powder
Few Pistachios, chopped
Step by step kalakand with ricotta cheese
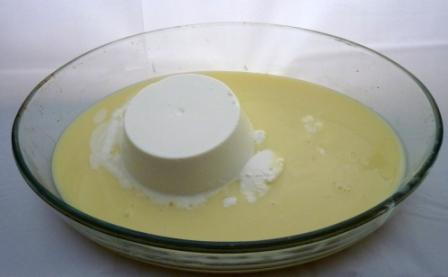
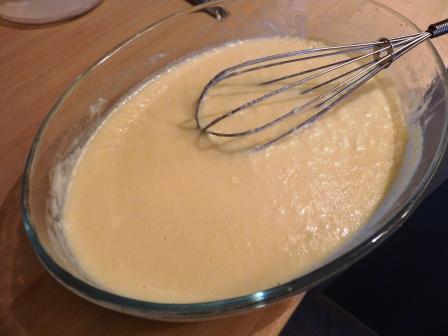
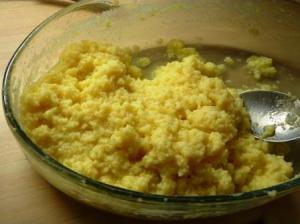
Step 1. In a microwave safe dish, pour condensed milk and combine ricotta cheese until smooth, without any lumps.

Step 2. Microwave it uncovered, on high for 3-5 minutes. Keep an eye, it should not boil over.
Step 3. Take out dish and mix well. Put it back in the microwave and cook covered on High for 3 more minutes.

Step 4. Mix well again, scrapping the sides. Check the consistency.
Microwave again, this time for 2 minutes, keeping an eye on it so that it does not fall over.

Step 5. Combine it well. Add cardamom powder. Now return to the microwave, and cook uncovered for 6 minutes, mixing well every 2 minutes (the mixing breaks are very important).
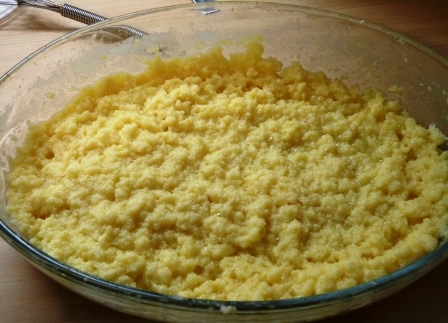
Step 6. The mixture should start looking less smooth and more granular. See the granular texture.
Step 7. My microwave is 700Watts, so adjust the cooking time according to your microwave. You might need to cook for 2 to 4 more minutes, mixing every 1 minute or so.
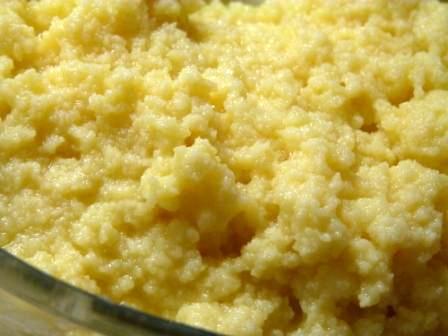
Step 8. The consistency should be thick, creamy but granular.

Step 9. Transfer into a rectangular dish, and press it with the help of spoon. Sprinkle crushed pistachios on top to garnish and chill for one hour to get it set.
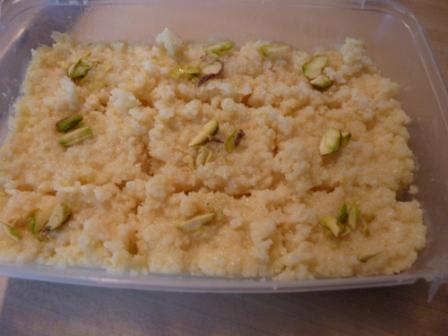
Cut it into squares and serve at room temperature.
Tips
- You can double or triple the recipe according to your need.
- Every microwave is different so adjust the time according to your microwave. It may take less time or more.
Susan says
Wow… This looks super yummy.
rachnaskitchen says
Thanks dear !!
Jeena says
Kalakandh is looking absolutely delicious and well made..
rachnaskitchen says
Thanks a lot Jeena !!
gayathri says
Yummy kalakand. Appetizing.
Sundari says
yummy yummy!!! Can i grab it off the screen? 🙂
rachnaskitchen says
Thankyou Gayathri for stopping by and commenting.
rachnaskitchen says
Thankyou Sundari, you liked it.
Pooja says
This looks so yummy and so easy to make.. just quick question, did you add some yellow food color to it?
rachnaskitchen says
Hi Pooja,
I didn’t add any colour to the recipe. It is just lighting which is making it look yellow but you may add it look beautiful.
Thanks
Jyothi McMinn says
Thanks for the recipe and it turned out awesome.
Preet says
I tried this recipe. It tasted good but it was breaking, it did not get formed into burfi pieces. Had to use spoon to eat it. Could you please let me know what went wrong.