Homemade Ghee Recipe
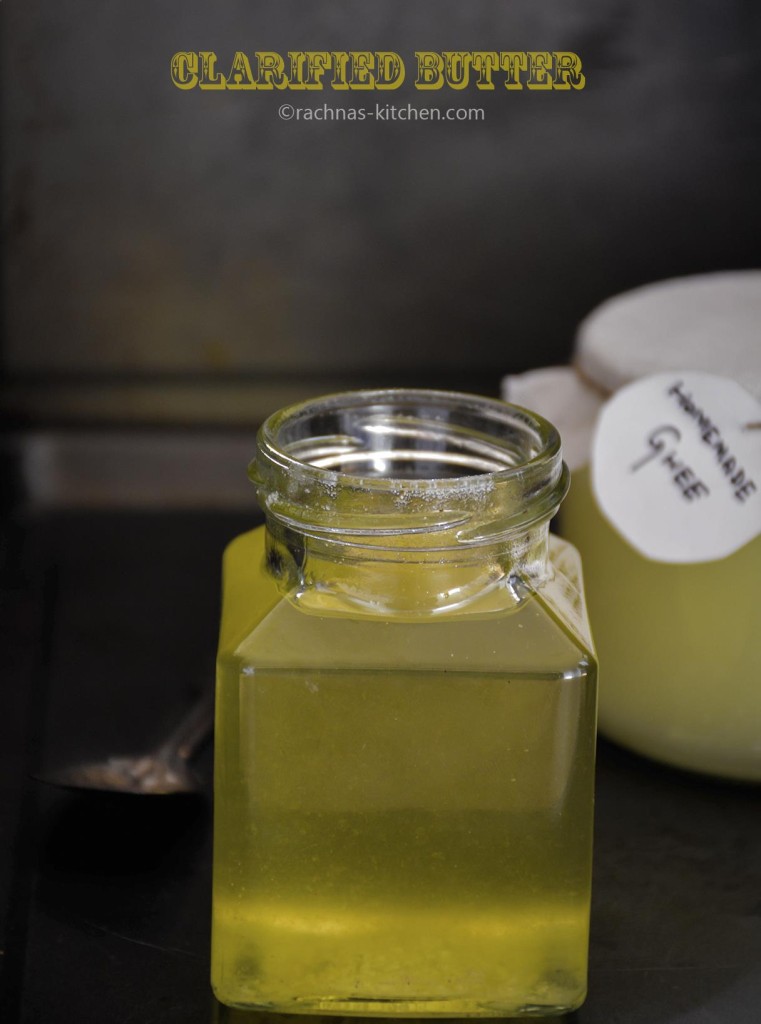
Ghee is one of the most versatile ingredient in Indian cooking. In english ghee is called clarified butter. It is also known as desi ghee. Clarified butter and ghee is not exactly same. The only difference between ghee and clarified butter is that ghee is cooked until the milk solids are slightly browned which adds a nutty flavor to the ghee.
Ghee making at home is not very easy, so why to take pain. You should take it because it has many health benefits over butter or any fat and Ghee made at home is more pure than the ones available in market.
1. Ghee is butterfat without the lactose and casein so it’s beneficial for people who are lactose intolerant.
2. Science has proved that Ghee converts fiber into butyric acid, It also helps to increase appetite, fostering better health and weight loss. Yes you read right weight loss. Keep on reading.
3. Ghee is rich in healthy fat-soluble vitamins such as vitamins A, D, E, and K. These vitamins aids in reducing inflammation.
4. Aids in weight loss – When the ghee is derived from grass-fed cows, the butter contains cancer-fighting fatty acid conjugated linolenic acid (CLA), which aids in weight loss. But remember that eating high amounts of saturated fat is not healthy and we should limit our daily intake of fat from saturated fat to only ten percent. Eat it responsibly.
5. It is also believed to help in healing skin. Ghee has been used in Ayurvedic medicines as a cure for blisters and burns.
6. Many people prefer cooking with ghee over butter because it does not burn as quickly as butter. Ghee has higher smoking point in comparison to other oil and butter. On heating, other oils break into free radicals which are potentially harmful. Smoking oil constantly can be hazardous to a person’s respiratory system.
Question – How to identify the pure ghee?
Answer – Take a teaspoon of ghee on your palm. If it starts to melt it means that is pure.
Another trick is that heat a pan and add a spoonful of ghee. If it’s colour changes to reddish brown, it means that it is pure.
If ghee takes more time to melt and becomes yellow , the ghee is adulterated.
You can use this homemade ghee in preparing following recipes.
1.Rava Kesari Recipe | Semolina Pudding Recipe
2. Peas Pulao Recipe, How To Make Matar Pulao
Today ghee is available in every market whether it is Indian market or European. But none can match the homemade ghee. So how to make ghee at home?
There are two methods.
1. First one is from scratch where we collect cream from boiled and cooled full fat cream for several days. Then making butter out of it and then making ghee.
2. In second method we can buy butter form market and then make ghee out of it.
Today I am sharing the ghee recipe from scratch using first method. I hope you find it useful.
Ingredients
Milk cream – 1 kg
Step by step on how to make ghee at home
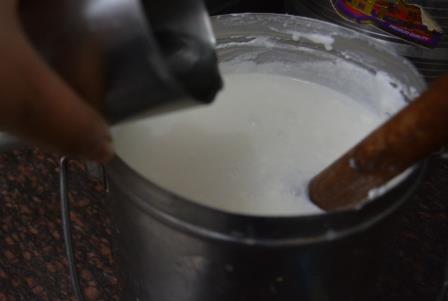
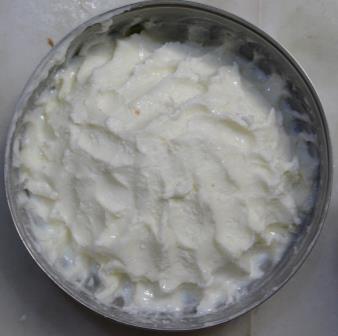
Step 1. Collecting cream
Step 2. Churning – Making butter (makhan)
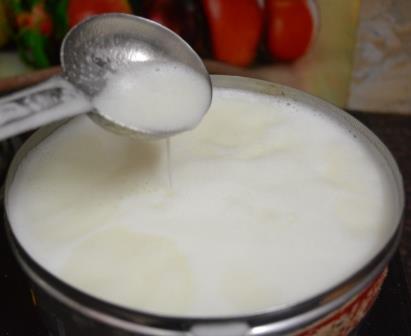
To churn I used traditional mathani (wooden whisk) but you can use food processor to churn it. Put mathani in cream utensil and start rolling in between your palm.
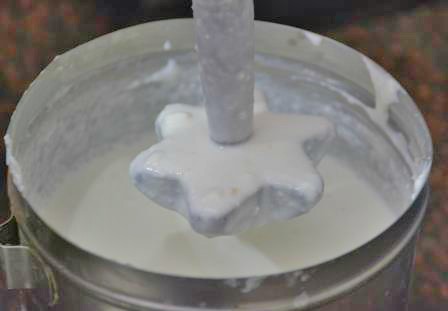
Whisk for 2 – 3 minutes. Add 2-3 tablespoon ice-cold water and keep on churning. Add more water if required. Cold water helps to separate butterfat from buttermilk.
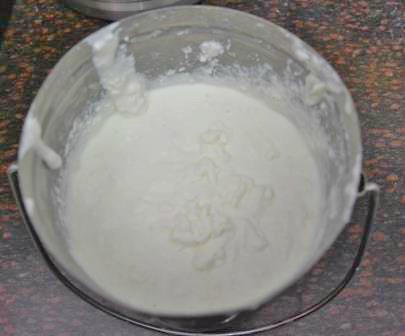
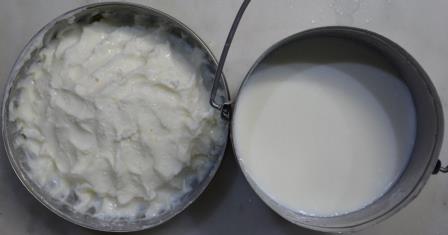
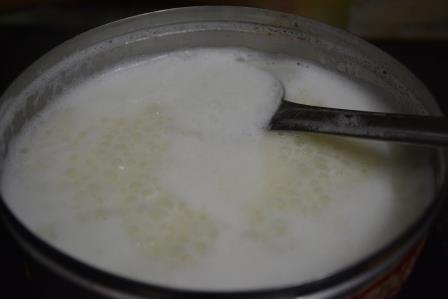
After 8 to 10 minutes of churning you will notice that butter globules are separating from the fluid part. Keep on churning and all butter globules starts floating on the top layer. The fluid part is butter milk.
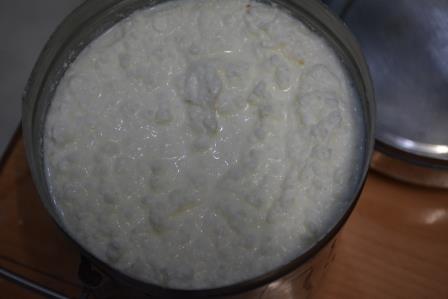
You can see the granular butter globules.
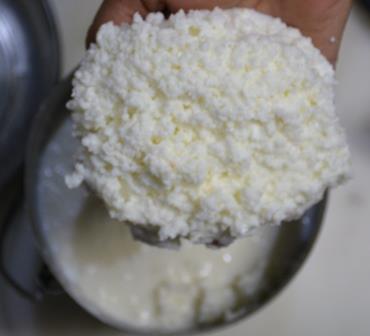
Separate it from butter milk and collect it in another utensil (Collect butterfat in a utensil which you can heat it later to make ghee).
Press butter with your fingers to expell buttermilk. It will release butter milk. Do it for around 5-7 minutes.
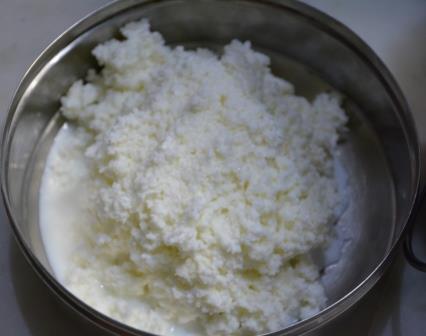
Here you can see that butter globules and butter milk is separated. You can use this butter milk in preparing different recipes. The buttermilk can be used to make bread or as a thirst-quenching drink.
Step 3. Preparing ghee
Put the butterglobules utensil on low heat. Let the butter melt. High heat will burn the butter (Makhan) resulting in bitter taste.

As butter (makhan) is melting down, foam will starts to form. Stir in to mix foam into butter. Simmer it on low heat.
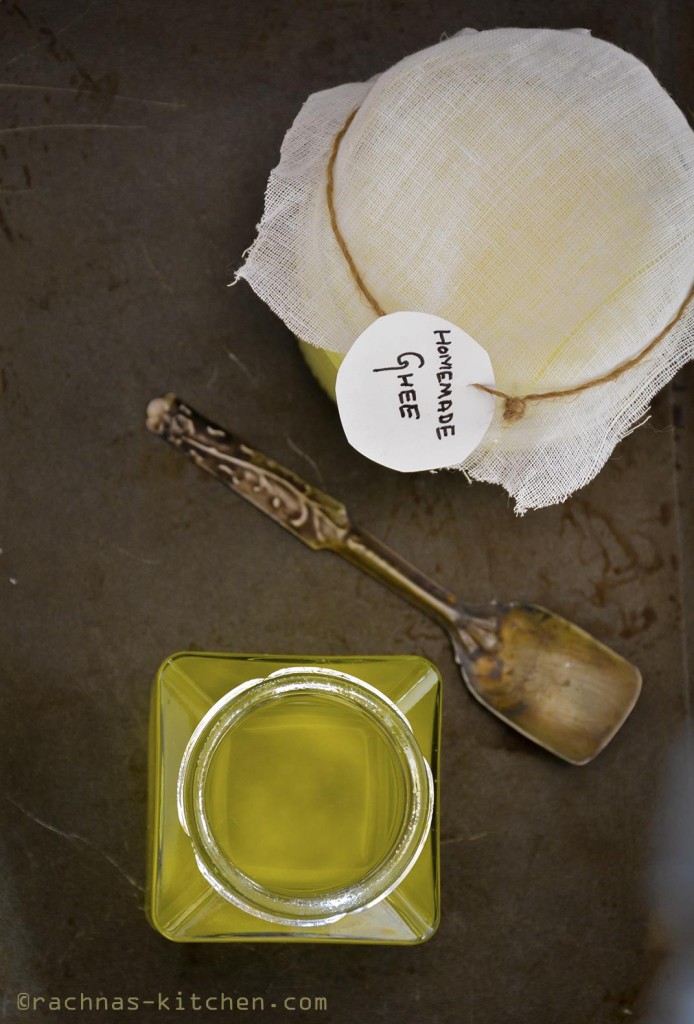
After 20 minutes of slow cooking foam will settle down and all moisture will evaporate. You will see that ghee has becomes golden and milk granules sink at bottom. Increase heat to medium and boil ghee for 3-4 minutes. Ghee will change colour to golden brown and milk granules will turn dark brown. Let the ghee cool for 10 minutes. Filter ghee in a fresh and dried container using muslin cloth. Ghee is ready to use.
You can use this ghee up to 8 to 10 months. After cooling down ghee solidifies. In the picture below you can see both forms. Store them in a dark and cool place. Enjoy!
Recipe card – how to make ghee at home

- Milk cream - 1 kg
- Ice cold water - 3 tablespoon or as required
-
Collecting cream
-
Add 2 tablespoon of yogurt in a large utensil and keep collecting cream over 8 to 10 days from boiled and cooled milk. Keep the utensil in refrigerator else it will get spoiled.
-
Churning- Making butter (makhan)
-
To churn I used traditional mathani (wooden whisk) but you can use food processor to churn it. Put mathani in cream utensil and start rolling in between your palm.
-
Whisk for 2 - 3 minutes. Add 2-3 tablespoon ice-cold water and keep on churning. Use more waterif required. Cold water helps to separate butterfat from buttermilk.
-
After 8 to 10 minutes of churning you will notice that butter globules are separating from the fluid part. Keep on churning and all butter globules starts floating on the top layer. The fluid part is butter milk.
-
You can see the granular butter globules.
-
Separate it from butter milk and collect it in another utensil.
-
Press butter with your fingers to expell buttermilk. It will release butter milk. Do it for around 5-7 minutes.
-
Now butter globules and butter milk is separated. You can use this butter milk in preparing different recipes. The buttermilk can be used to make bread or as a thirst-quenching drink.
-
Preparing ghee
-
Put the butterglobules utensil on low heat. Let the butter melt. High heat will burn the Makhan resulting in bitter taste.
-
As butter (makhan) is melting down, foam will starts to form. Stir in to mix foam into butter. Simmer it on low heat.
-
After 20 minutes of slow cooking foam will settle down and all moisture will evaporate. You will see that ghee has becomes golden and milk granules sink at bottom. Increase heat to medium and boil ghee for 3-4 minutes. Ghee will change colour to golden brown and milk granules will turn dark brown.
-
Let the ghee cool for 10 minutes. Filter ghee in a fresh and dried container using muslin cloth. Ghee is ready to use.
-
You can use this ghee up to 8 to 10 months.
-
After cooling down ghee solidifies.
-
Enjoy!
Use full fat cream to make ghee.
The cream must be cold before you are going to churn it.
Divya pai says
Fantastic recipe of homemade butter ghee..it will take lot of efforts to prepare.. will request if you have made video of milk to ghee if possible please share..will be greatful..many thanks for this as well as other recipes..
rachnaskitchen says
Thanks for visiting Divya … I’ll certainly make a video when I prepare it next time
Divya pai says
Ok..thanks…will await for same and keep me posted..
ankit kumar says
I tried this ghee recipe and it is really easy to make ghee. Ghee from this method tastes really awesome. Thanks for sharing this amazing method.
Vera says
If I can’t make ghee at can I buy butter and which type is good to make ghee at home
Monika Chhikara says
Very nice recipe to make ghee, ????????????????????????
RG says
I’ll try this soon… Thank you for this recipe.